


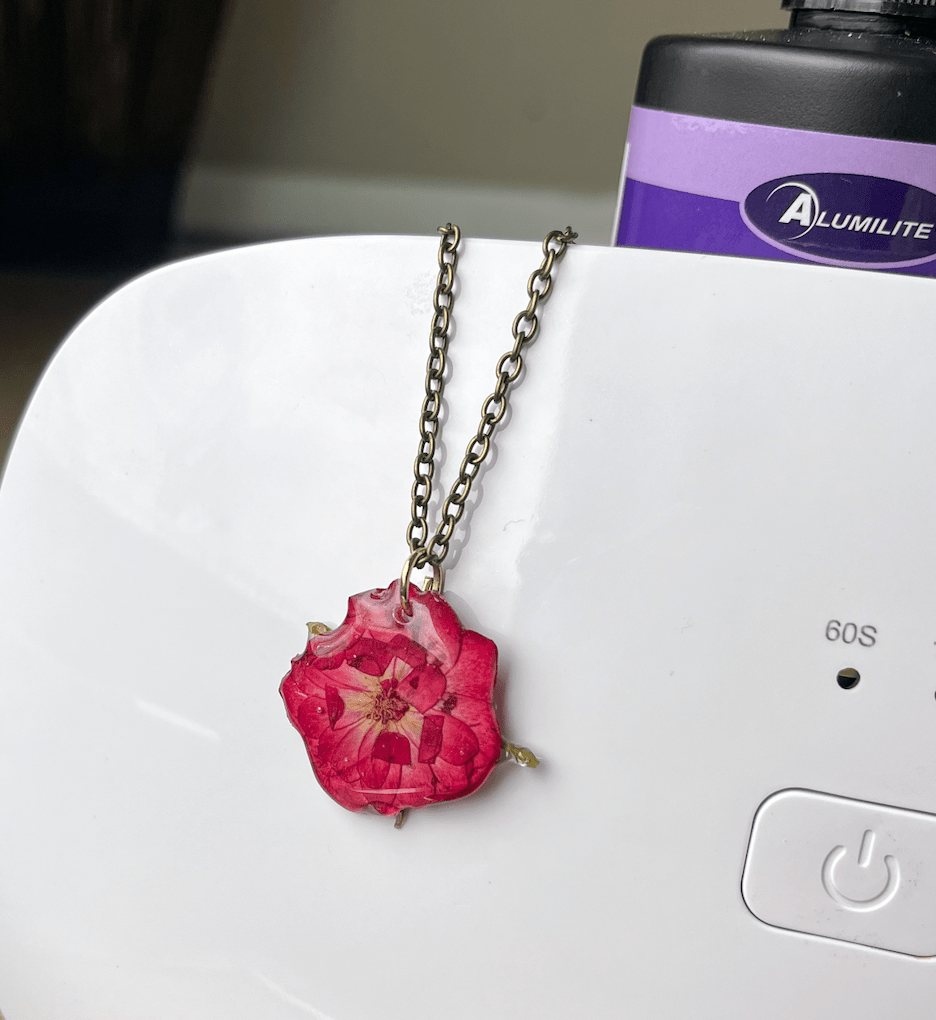
"I really just use it to set long stem flowers in place or trinkets in snow globes"


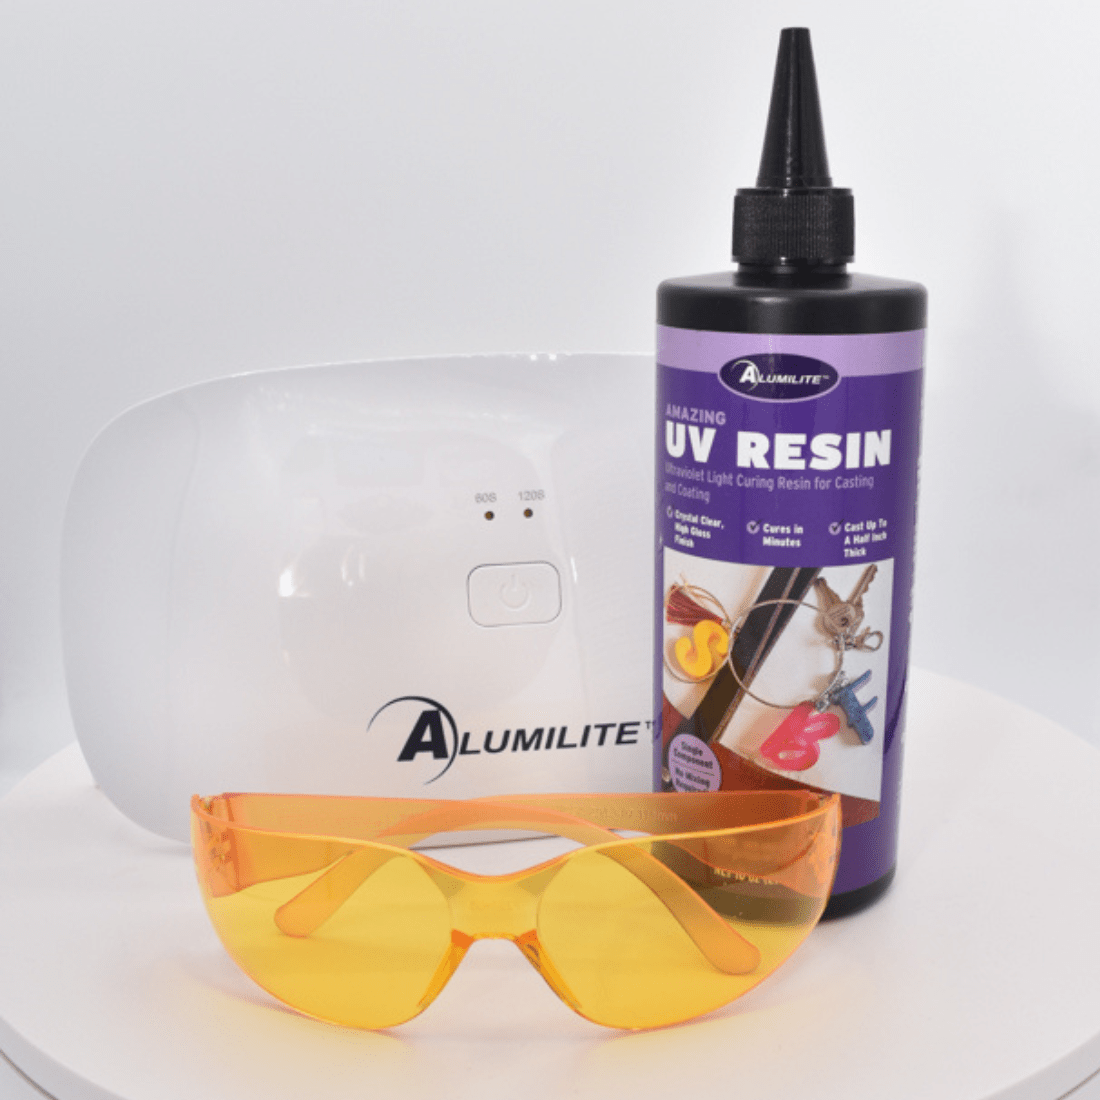
Amazing UV Resin for Jewelry and Crafts
$28.99
/
Shipping calculated at checkout.
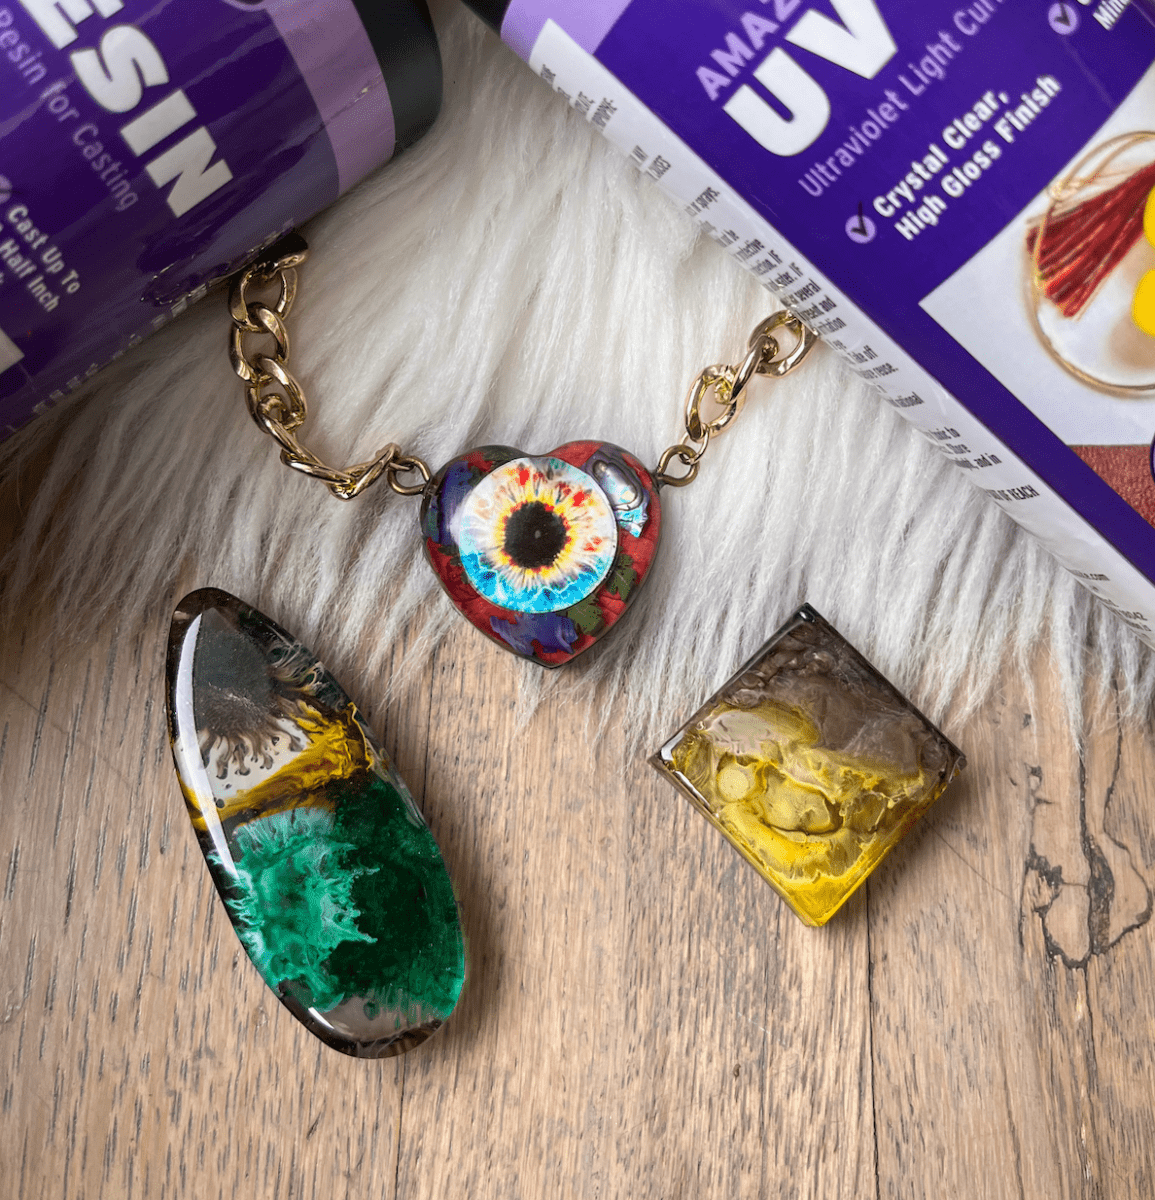
Crafting at the Speed of Light!
Experience instant creativity with Amazing UV Resin, designed for makers who want fast, flawless results. Its rapid curing technology allows you to bring your artistic visions to life in seconds—no more long wait times! This user-friendly formula eliminates the need for measuring or mixing—simply pour, cure, and enjoy.
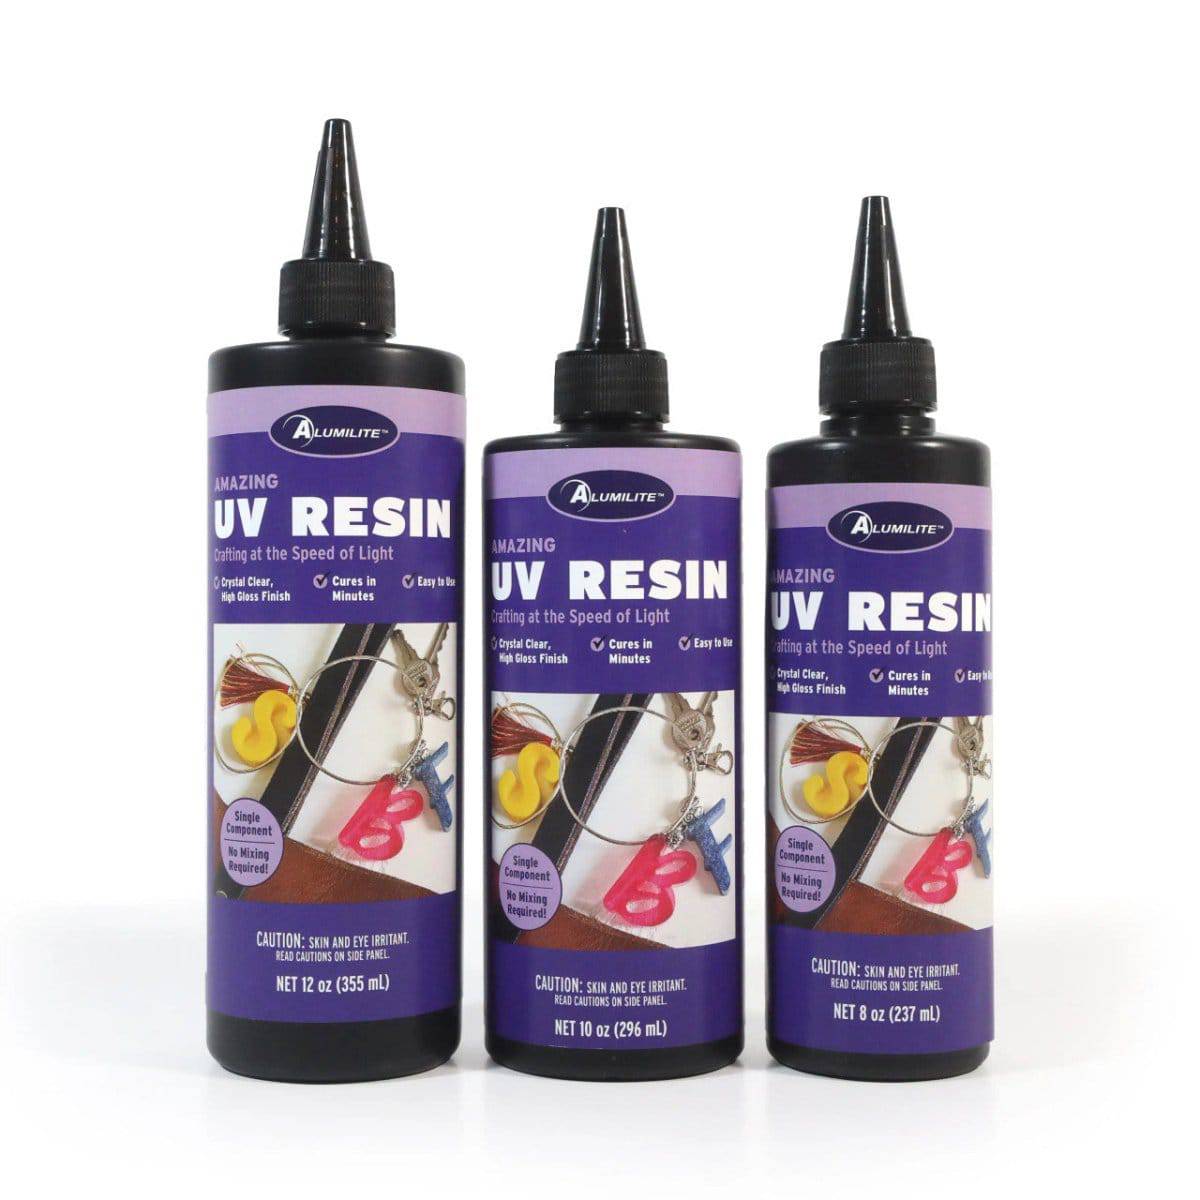
Customize with ease by adding mica powders, alcohol inks, or glitter, transforming this clear resin into a vibrant, eye-catching masterpiece. Whether you're crafting jewelry, coatings, or intricate designs, Amazing UV Resin adapts to your needs. Plus, with a range of available sizes, there’s a perfect option for every project. Create, cure, and shine—effortlessly!
-
Rapid Curing Technology: Step into a world where your artistic visions come to life faster than ever!
User-Friendly: Say goodbye to the hassle of measuring and mixing. Just pour, cure, and adore!
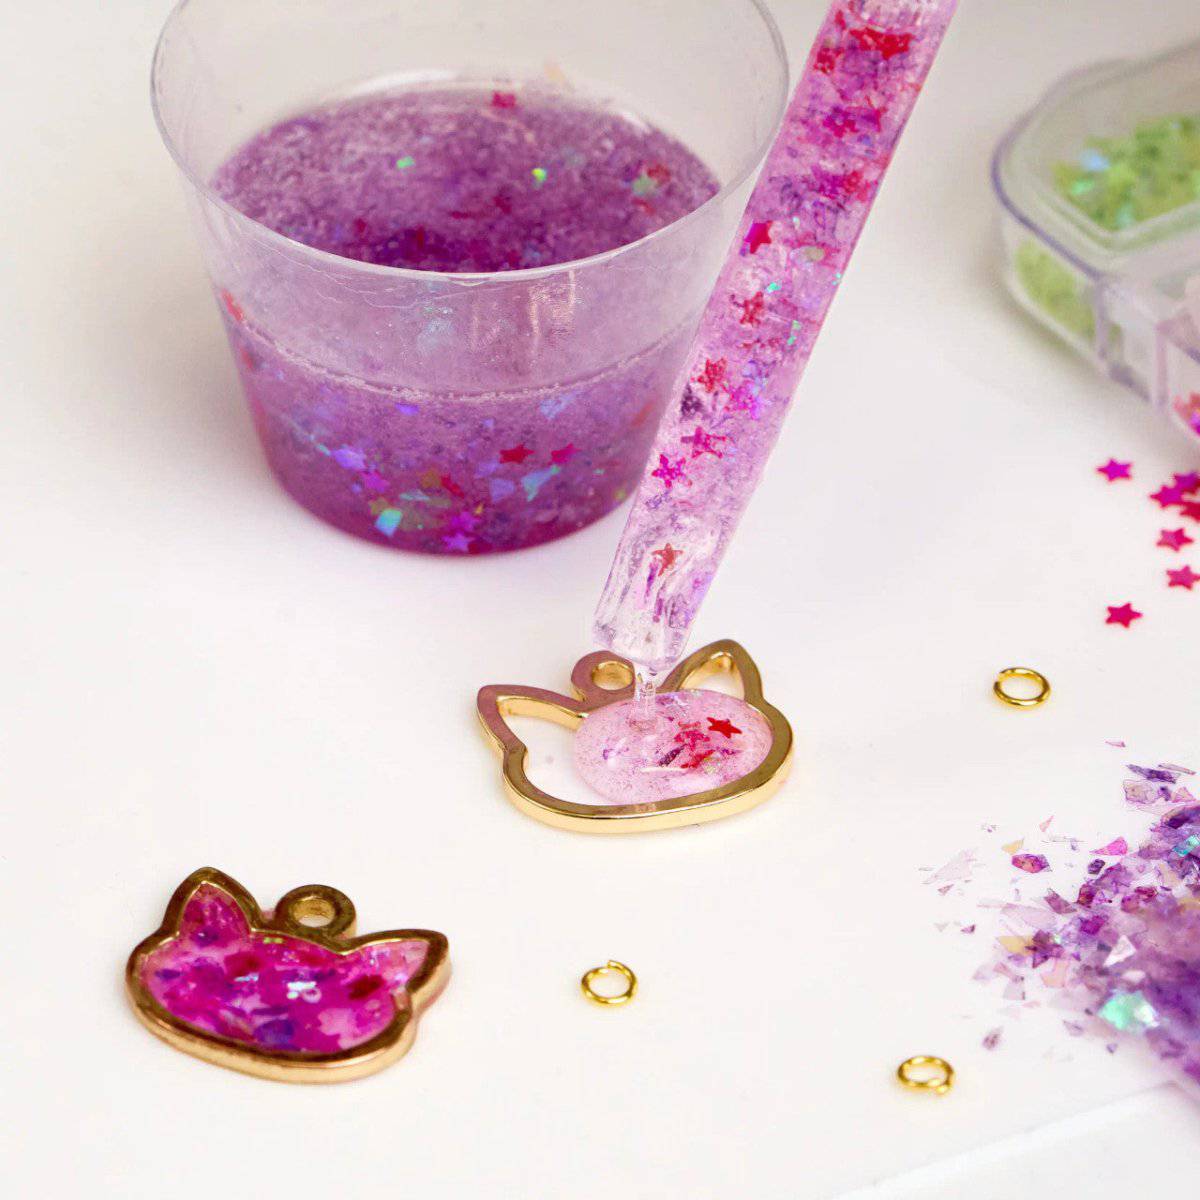
- Customize with Ease: A tiny amount of mica powder, alcohol ink, or glitter transforms this clear UV Resin into a vibrant masterpiece!
- Pick Your Perfect Size: Available in various sizes to suit every project!
Features
✅ Pour, Cure, and Adore
✅ Versatile for All Projects
✅ High-Gloss Finish
🚫 No Measuring or Mixing
🚫 No Long Wait Times
FAQ
What's the difference between UV resin and epoxy resin?
🌟 UV resin cures with ultraviolet light and is typically used for small projects like jewelry. Epoxy resin, on the other hand, cures with a hardener and is more versatile, suitable for larger items like coasters and tray.
Why isn't my UV resin curing properly?
🤔 There could be several reasons: using the wrong mold (large, deep, or opaque molds are a no-go), incorrect pigments (some pigments don't work well with UV resin), not enough UV light exposure, or adding too much pigment or glitter which blocks the light.
How can I avoid tacky or sticky surfaces?
🍯 This issue often arises from incomplete curing. Ensure you're following the recommended guidelines for mixing and measuring, and use a proper UV light source. A thin clear layer of UV resin can also be applied and cured if the surface is sticky.
What causes bubbles, and how do I prevent them?
🧼 Bubbles can form when resin is stirred too vigorously or when it's too thick. Gently stir the resin and let it rest before curing to allow bubbles to rise. You can also use a heat gun to pop surface bubbles.
How do I handle warping in my UV resin projects?
🌪 Warping can be due to uneven curing, excessive shrinkage, improper mold use, inadequate UV light exposure, or poor quality resin. Ensure even exposure to UV light, avoid excessive heat, and use high-quality resin. Try moving the light further away from the resin to slow down the curing to reduce heat.
Is it necessary to cure both sides of my resin project?
🕶 Yes, especially for thicker projects. This ensures that the entire piece is properly cured and reduces the risk of a tacky or uncured center.
Adding Color to Amazing UV Resin
🌈 UV resins open a world of creative possibilities with their fast curing and ease of use. If you want to add a splash of color, here's what you need to know:
🎨 Compatible Colorants
Mica Powder: Adds a beautiful shimmer and pearlescent effect.
Alcohol Inks: Create vibrant, translucent colors with swirls and marbled effects.
Glitter: Offers playful sparkle and dimension.
Liquid Pigments: Specifically designed for resin, these offer concentrated color.
🔮 Tips for Success
Less is More: Start with tiny amounts of colorant. Overdoing it can block the UV light, leading to improper curing and a soft or sticky result.
Clear Molds: Let the colors shine! Clear molds ensure maximum light penetration for a complete cure.
Thorough Mixing: Use a separate cup to mix your resin and colorant before pouring into your mold. This ensures even color distribution.
Mica Dusting: For a clear interior with a colorful shimmer, lightly dust your mold with mica powder before adding the resin.
Curing Both Sides: Always cure both sides of your project for optimal results.
Tacky Surfaces: If you encounter stickiness, a thin top coat of resin and additional curing time should solve the problem.
Layering: Create depth and dimension by layering different colors of resin. Cure each layer partially before adding the next.
Test Swatches: Always test your color combinations in small batches before committing to your main project.
⚠ Important Notes:
Some pigments may not be compatible with UV resin. Always test with a small sample before coloring a large batch.
The intensity of the color depends on the amount of colorant and the thickness of your project.
Need Help Getting Started?
Give us a call (269-488-4000) and our team of experts will assist you.
Step-by-Step Project Guide
Downloadable Resources
Craft Faster, Craft Smarter !
Tired of watching epoxy cure? Zoom past the boredom and start crafting at the speed of light with our UV Resin! It's like putting a turbocharger in your crafting toolkit. In just minutes, under UV light or even natural sunlight, see your artistic dreams harden into high-gloss reality. It's your creative sprinter in a bottle!

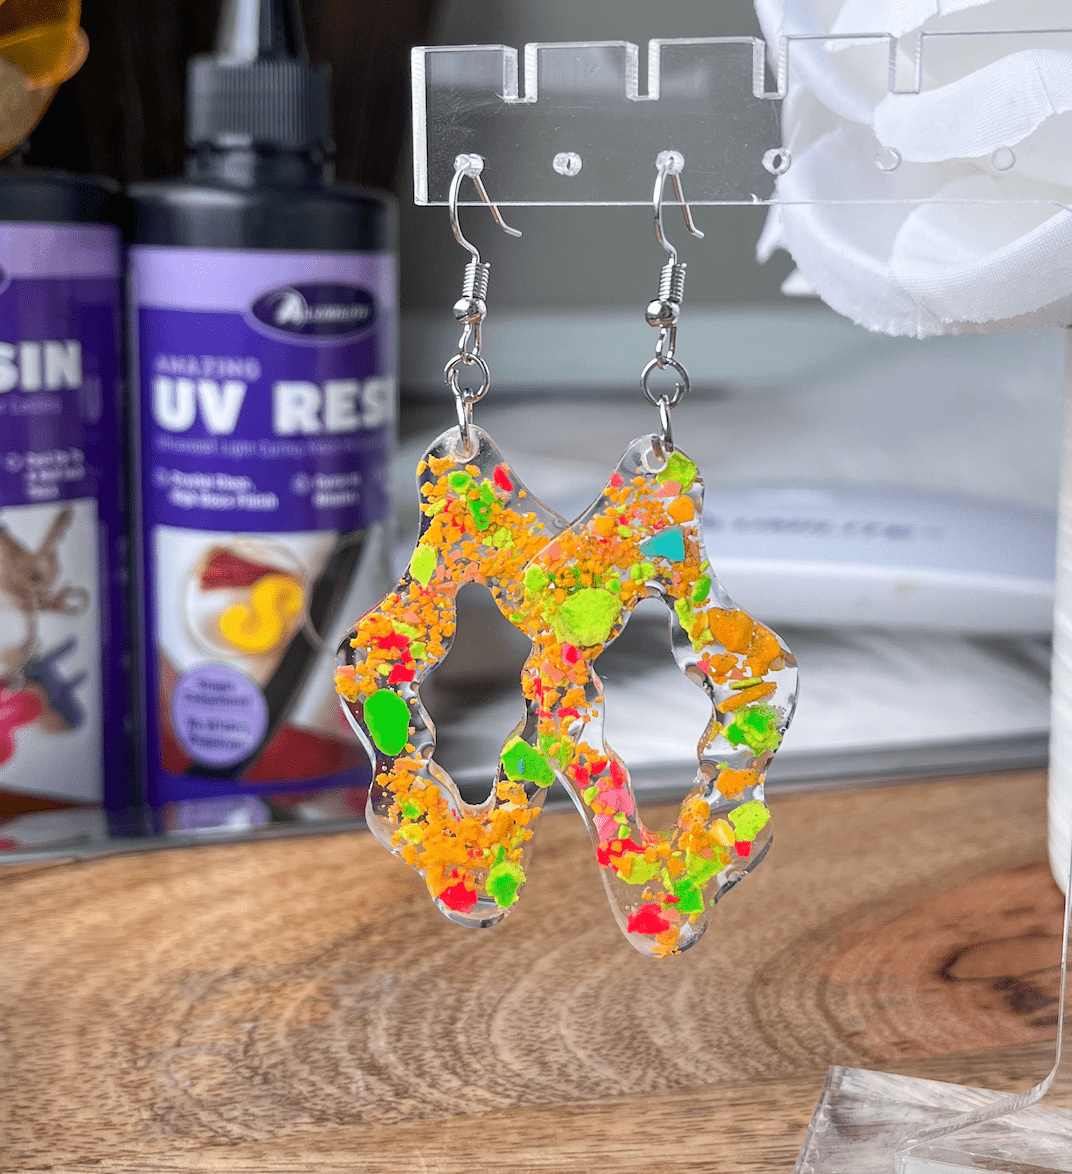
Create Stunning, Shimmering Earrings in Minutes
These mesmerizing earrings showcase themagic of Amazing UV Resin, bringing intricate details and shimmering colors to life in just minutes!
Amazing UV Resin’s fast-curing formulaallows you to create stunning jewelry like thiswithout the long wait timesof traditional resin. Simply pour, cure, and enjoy a crystal-clear, durable finish that highlights every detail.
Try Our Easy UV Resin Bubble Hack !
Creating textured designs with Amazing UV Resin is easy with the bubble technique. This simple method adds depth and dimension to your resin pieces.
👈 Watch now and get inspired to create something amazing!
1. Prep & Cure – Apply a thin, even layer of UV resin to a clean, level surface and cure under UV light.
2. Create Bubbles – Mix water and soap, skim off the top layer of bubbles, and gently place them on an uncured resin layer.
3. Cure & Texture – Cure the resin under UV light, allowing the bubbles to pop and leave a textured imprint.
4. Clean & Layer – Wipe away any soap residue. For more depth, repeat the process to build up layers.
5. Add Dimension – Sprinkle mica powder into the impressions and seal with a final UV resin layer. Cure once more to lock in the shimmer and texture.


Overall rating: 4.90625 / 5 from 32 reviews.
AI Generated Review Summary
Experience rapid and flawless results with Amazing UV Resin, perfect for jewelry and crafts. Customers praise its clear, shiny finish and ease of use, achieving glossy outcomes effortlessly.
Summary topics
- Clear Shiny Finish: 14%
- UV Resin Quality: 50%
- Glossy Results: 23%
Review topics: ["results","resin","dome","bubbles","cure","projects","mix"].
Review highlights
- "The Resin is Clear, the Cure time Wonderful, Domes Beautiful and so easy to work with." —
- "The quality of the cure is fantastic and my results are glossy and hard." —
- "This is already my favorite brand for epoxy and I am so glad to now have UV resin option!" —
Reviews
"Best UV reson I’ve ever used!"
I really emjoy working with
"I really emjoy working with this product!"
uv resin
"worked really great compared to some off brand ones"
Angrysturgeonlures Review
"Loving the resin. So far no issues and it cures "dry" and clear."
Amazing UV Resin Review
"This product is amazing and user friendly I love that there is no mixture involved which means no mess and incorrect measuring and i love the fact that it cures so fast Great product would definitely buy again and recommend."
"Works as described! Jusr what i needed for a large scale sculpture. Thank you."
UV resin
"This is my first experience with resin , I’m pleased with the product used it for a coating on some rings that I’m making pleased with the results"
Great product!
"Fantastic UV resin! Very easy to work with, great for jewelry as well as larger resin projects!"
This is an amazing product
"Wow! This is a great product! Mixed with the UV light this product is amazing! Deffinetly 5 stars. . . ."
Q&A
- What is the heat resistance of this product once it has cured?
- Amazing UV Resin heat resistance is approximately 130°F once fully cured. This makes it suitable for jewelry, small castings, and decorative pieces that won’t be exposed to high heat. It's not designed for high-temperature use—so it's best to avoid placing hot items like mugs or pans on it, as this could cause softening or warping over time. If your project needs higher heat resistance, feel free to reach out—we can help you find the right resin for the job. Customer Support: (269) 488-4000 Email: info@alumilite.com
- what is a recommended cleaner for brushes or applicators?
- Great question! For keeping your brushes in tip-top shape, we recommend using acetone or denatured alcohol. These cleaners are excellent because they evaporate quickly, leaving no residue behind in the brush bristles. 🖌?✨ While Alumilite Amazing Resin Remover is effective, there';s a chance it might leave some residue in the brush. This could inadvertently transfer to your next project, possibly causing dimples or an ';orange peel'; effect on the surface. So, it';s best to stick with acetone or denatured alcohol for brushes to ensure your next masterpiece is flawless. 🎨🛠? Always happy to provide more tips or answer any other questions you might have. Let';s make sure your crafting process is as smooth as your finishes! 🚀🌈


