


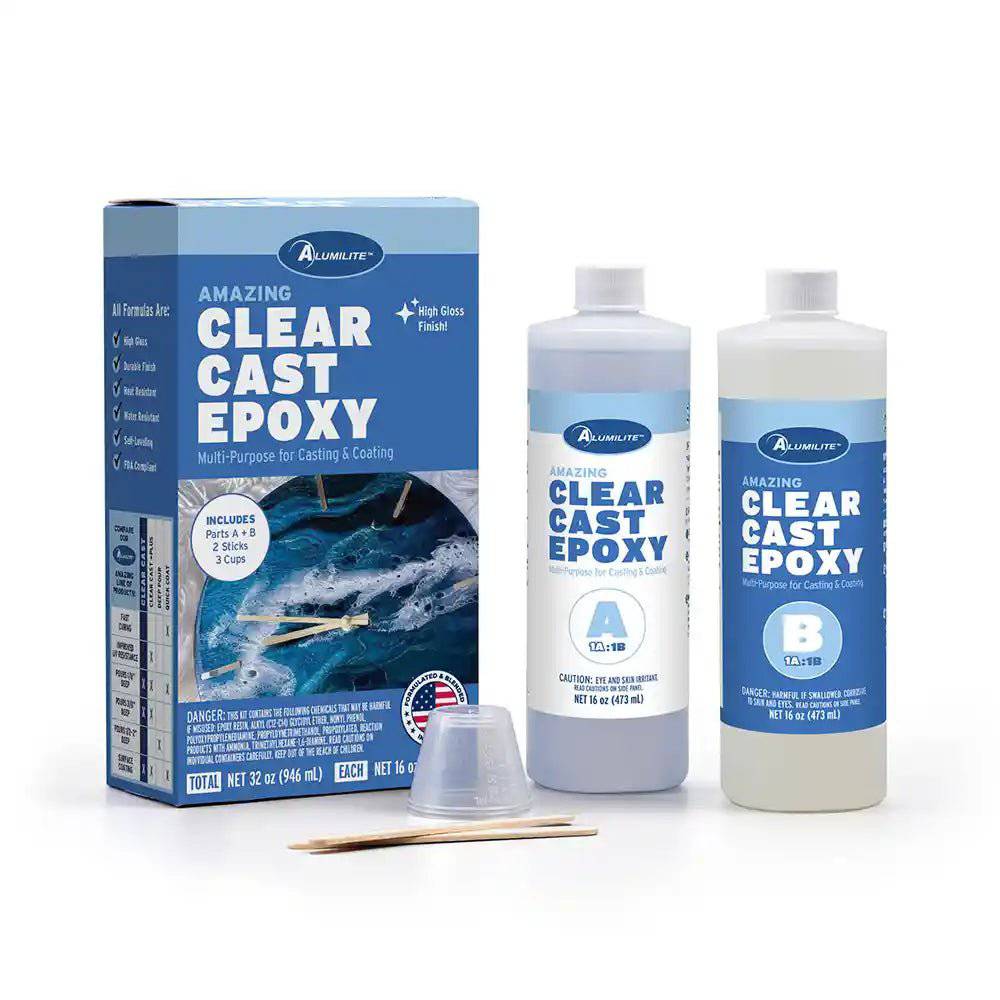


Amazing Clear Cast Epoxy
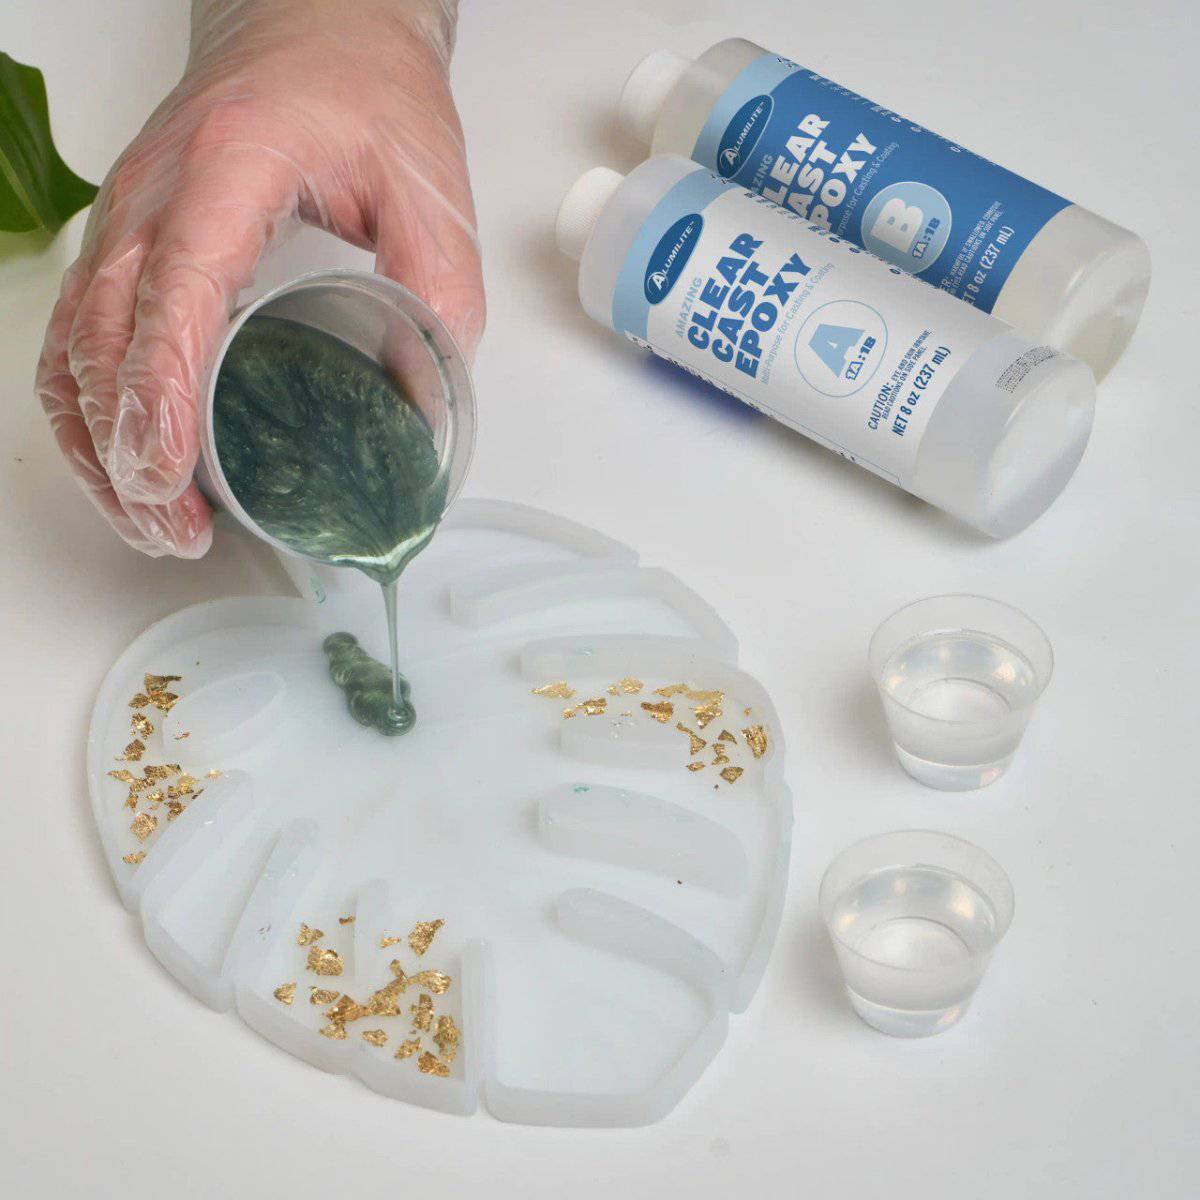
Amazing Clear Cast resin is a 2-part clear casting and coating resin, perfect for bringing your crafting projects to life. Its easy-to-use formula has a 1:1 by volume ratio and provides a protective high-gloss coating that stands up to impact.
Suitable for all skill levels, this clear epoxy resin can be poured in layers up to 3/8” thick or used for thin surface coatings.
- Achieve a Crystal-Clear Finish: Perfect for creating a glass-like surface that enhances the beauty and details of your projects.
- Simple to Mix and Use: With an easy 1:1 mix ratio, you can quickly prepare the resin for any project without the hassle.
- Food Safe Once Cured: Ideal for projects that come into incidental contact with food, such as countertops or coasters.
- Versatile for Various Applications: Works great with additives like dyes, mica powders, alcohol inks, and glitter for unlimited creative possibilities.
- Create Stunning Coatings and Castings: Perfect for coating artworks, creating jewelry, encapsulating keepsakes, or making DIY home decor.
Features
✅ Achieve a high-gloss, professional finish for your projects.
✅ Customize with dyes, mica powders, alcohol inks, and glitter.
✅ Easy 1:1 mix ratio for quick and hassle-free application.
✅ FDA compliant for incidental food contact once fully cured.
✅ Manufactured in America.
FAQ
How long does it take to cure?
⭕ Amazing Clear Cast resin typically demolds in 24-48 hours. The exact curing time can vary based on environmental conditions such as temperature and humidity, as well as the thickness of the cast. For optimal results, ensure that the workspace is maintained at a consistent temperature and that the resin is mixed thoroughly before pouring. Always refer to the product instructions for specific guidelines to achieve the best results.
Can I add colors or other additives?
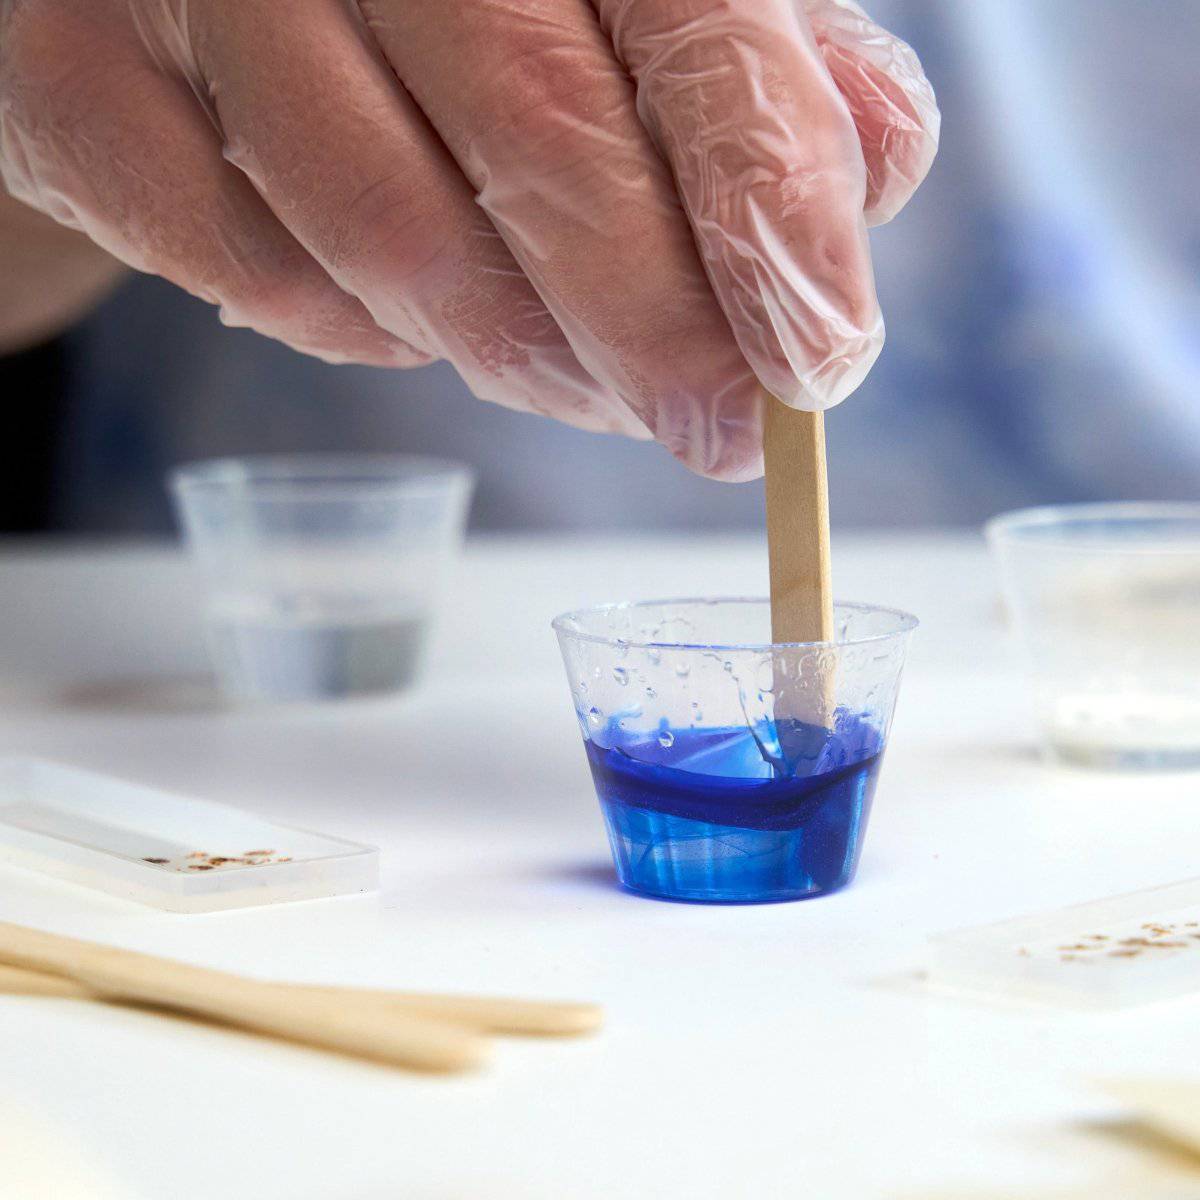
⭐ Absolutely! You can customize your Amazing Clear Cast resin projects with various additives. Add liquid or powdered dyes for vibrant colors, mica powders for a shimmering effect, alcohol inks for dynamic color patterns, and glitter for a sparkling touch. Just mix them thoroughly into the resin to ensure an even distribution. Always do a small test first to see how the additives blend with the resin to achieve the best results.
What is the maximum pour depth?
💥 The recommended maximum pour depth for Amazing Clear Cast resin is 3/8". This depth helps the resin cure properly without overheating. If you need a thicker layer, you can pour in multiple layers, allowing each one to cure before adding the next. This method ensures your project remains clear, strong, and free from any issues caused by excessive heat. Plus, it gives you the chance to get creative with each layer!
Is it safe to use?
✨ Yes, Amazing Clear Cast is FDA compliant, making it safe for incidental food contact once fully cured, as long as no additives are used. It’s also great for top coating, providing a durable, high-gloss finish. Just remember to follow safety guidelines: use it in a well-ventilated area, wear gloves, and avoid skin contact and inhaling fumes. These precautions ensure a safe and enjoyable crafting experience.
Can I use Amazing Clear Cast resin for table coating?
🧯Yes, Amazing Clear Cast is excellent for top coating. It provides a durable, high-gloss finish that enhances the appearance of your projects. Simply apply a thin layer over your artwork, tables, or other surfaces for a sleek and protective finish.
How can I eliminate bubbles?
🧼 To eliminate bubbles in your Amazing Clear Cast, mix the resin slowly to reduce air introduction. Warm the bottles by placing them, closed, in a warm water bath before mixing to reduce viscosity, allowing bubbles to escape more easily. After pouring, gently use a heat gun over the surface to pop any bubbles. These steps will help you achieve a smooth, bubble-free finish.
Whats the best temperature to work with amazing clear cast?
☀ The ideal temperature for working with Amazing Clear Cast is between 70°F and 80°F (21°C to 27°C). This range ensures the resin cures properly and reduces the risk of bubbles. Keep your workspace at a consistent temperature and avoid areas that are too hot or cold, as extreme temperatures can affect the resin's performance and cure time.
How should I store my resin to keep it in the best condition?
❄️ Store your resin in a cool, dark place away from direct sunlight and high temperatures, ideally between 60°F and 75°F (15°C to 24°C). Keep the container tightly sealed to prevent moisture and air from affecting the formula. Wiping the container tops before sealing can help prevent stuck caps.
What are the best conditions for pouring and displaying resin projects?
☀️For the best results, pour resin in a well-ventilated, temperature-controlled environment with humidity below 60% to prevent cloudiness and bubbles. Once cured, keep finished projects out of direct sunlight to prevent yellowing or warping. If you need extra UV protection, consider using Amazing Clear Cast Plus to help maintain color and clarity.
Need Help Getting Started?
Check out RESIN 101 and become a pro in no time! Have other questions? Give us a call (269-488-4000) and our team of experts will assist you.
Need It Today?
Find us in store at your favorite local retailers! Be sure to check with your local store for product and stock options. Now available at:
Downloadable Resources
Community Creations with Clear Cast

Ready for Stunning Creations ?
Amazing Clear Cast resin is the upgrade your crafting projects need. With its high-gloss finish, versatility, and FDA compliance, your projects will shine like never before.
Just mix it up, pour it out, and watch your creations come to life with brilliance and durability. Say goodbye to crafting woes and hello to professional-quality results!
Want to Make This Lemonade Tray ?
Watch now and get inspired to create something amazing! 👉
1. Prep & Mix – Cover your workspace with a plastic sheet. Mix Amazing Clear Cast resin (1:1 ratio) for 2–3 minutes until clear.
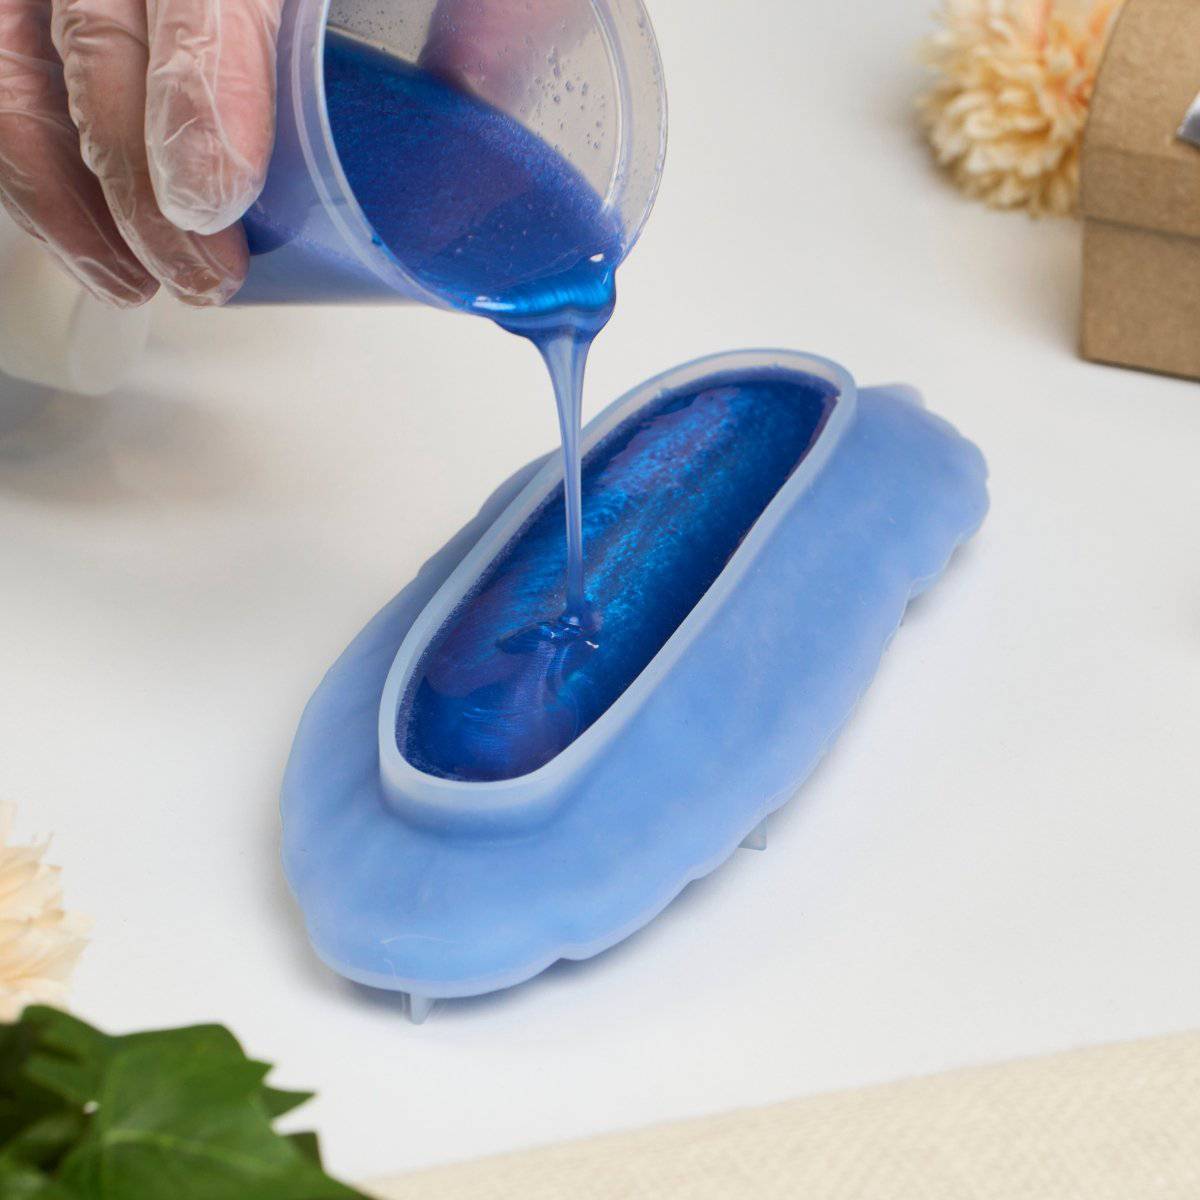
2. Color & Pour – Add yellow alcohol ink, stir evenly, and pour onto the tray, spreading from the center out. Use a heat gun to remove bubbles. Cure for 24 hours.
3. Add & Seal – Place a vinyl sticker on the cured surface, then pour a clear resin layer to seal it. Remove bubbles with a heat gun.
4. Cure & Enjoy – Let cure for another 24 hours. Once fully set, your custom resin tray is ready to use!
Compare Epoxies
Need Help Getting Started?
Your cart is currently empty.
Start Shopping


