


So far so good. I
"So far so good. I have only done a couple lures so far. Drying time takes longer than expected even under UV lamps. Time will tell as I do more projects with it."


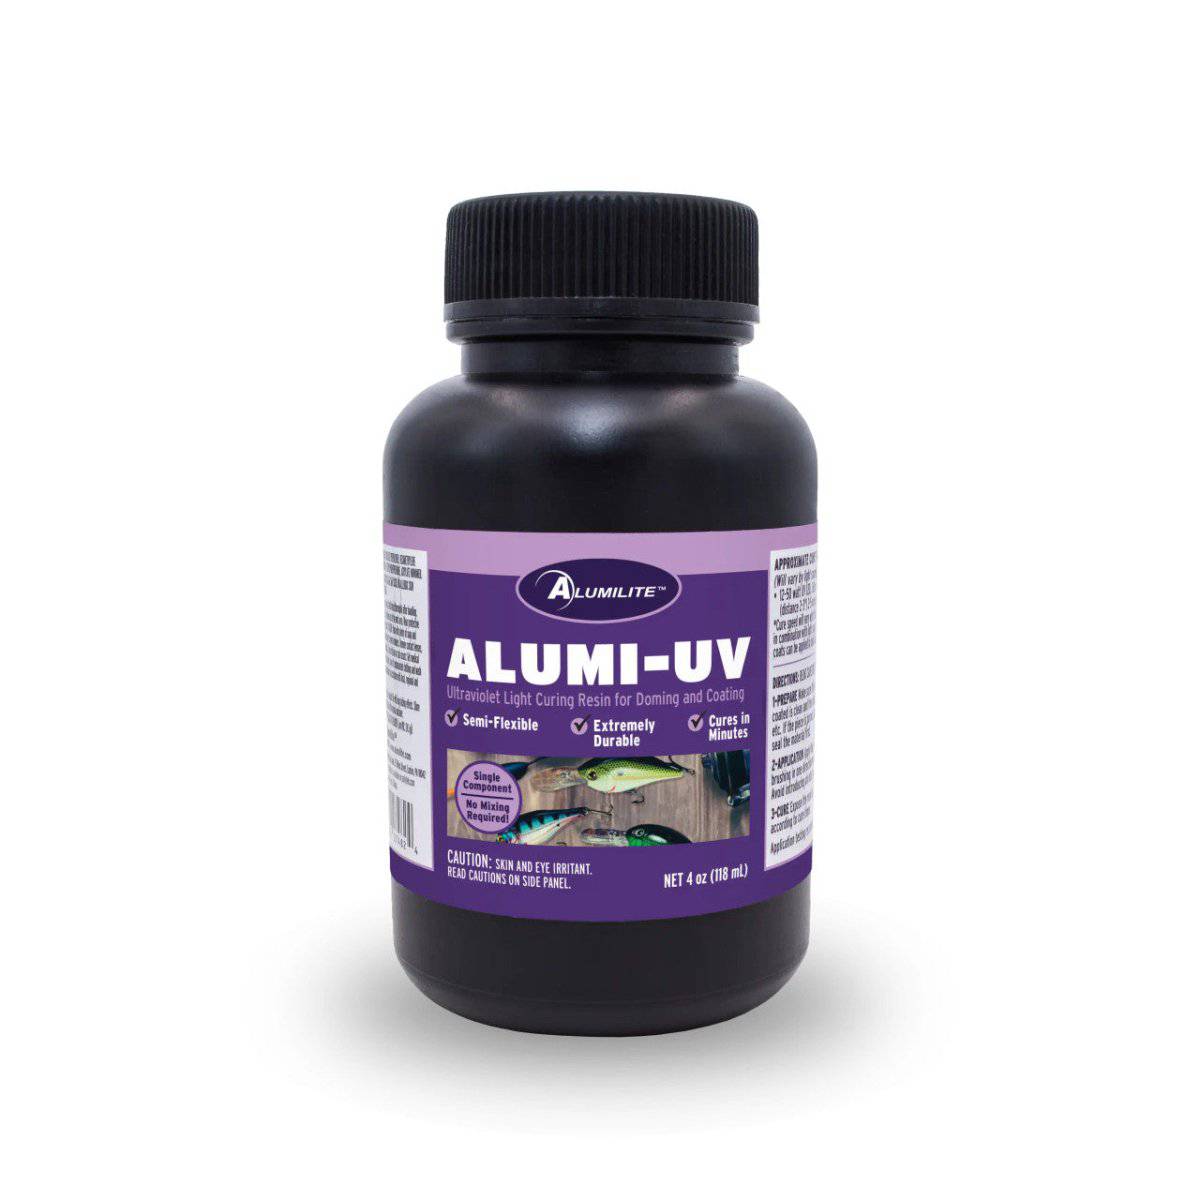
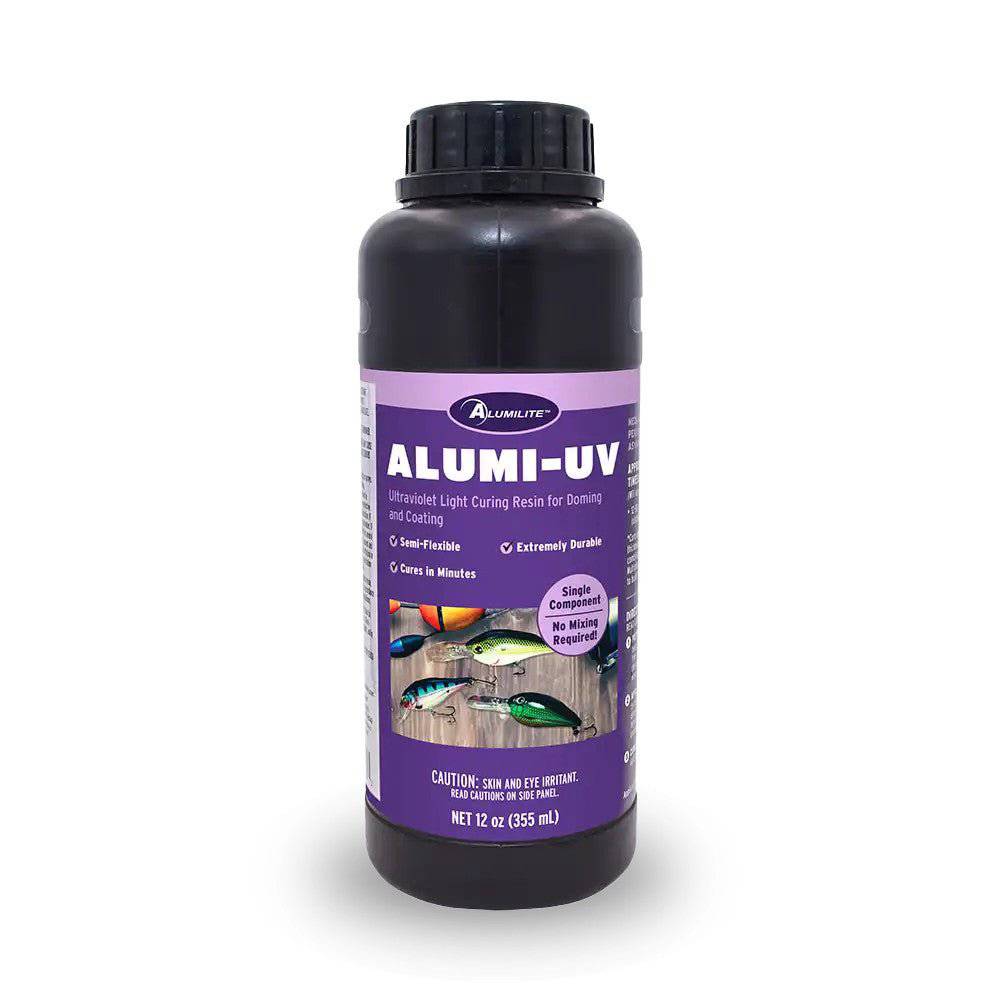
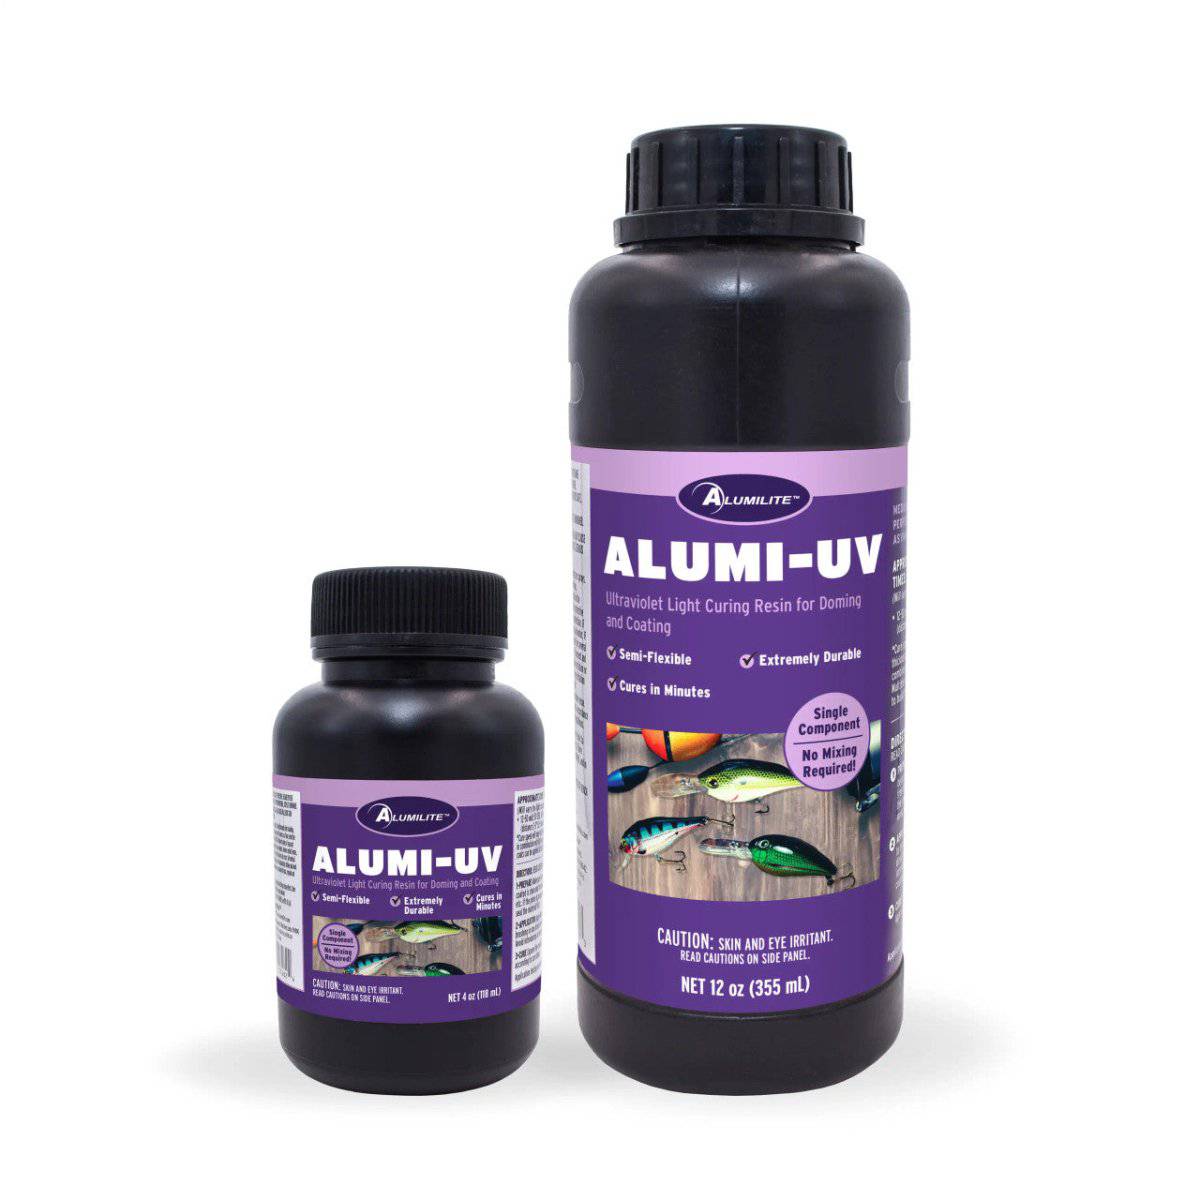
Experience lightning-fast curing with our improved Alum-UV resin, designed to bring your creative ideas to life in record time. No need for complicated measurements or mixing—just pour, cure, and admire the flawless results! Whether you're adding mica powder, alcohol ink, or glitter, this clear UV resin makes customization effortless. Plus, with a variety of sizes available, there’s a perfect option for every project.
✅ Pour, Solidify, and Reveal
✅ Ready for Any Project Challenge
✅ Achieve a Bold High-Gloss Look
🚫 Skip the Fuss of Measurements or Mixing
🚫 No Need for Endless Waiting.
What sets UV resin from epoxy resin?
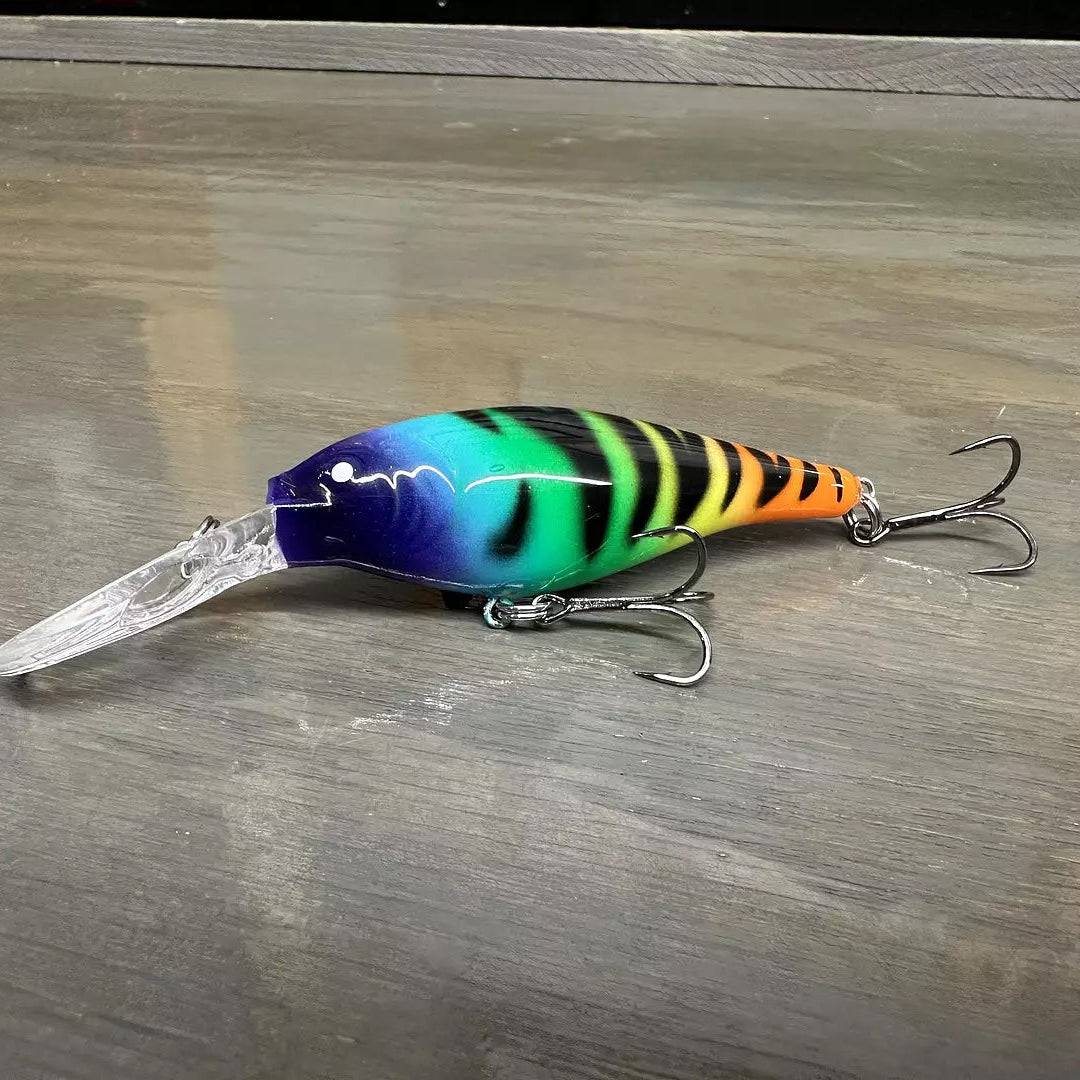
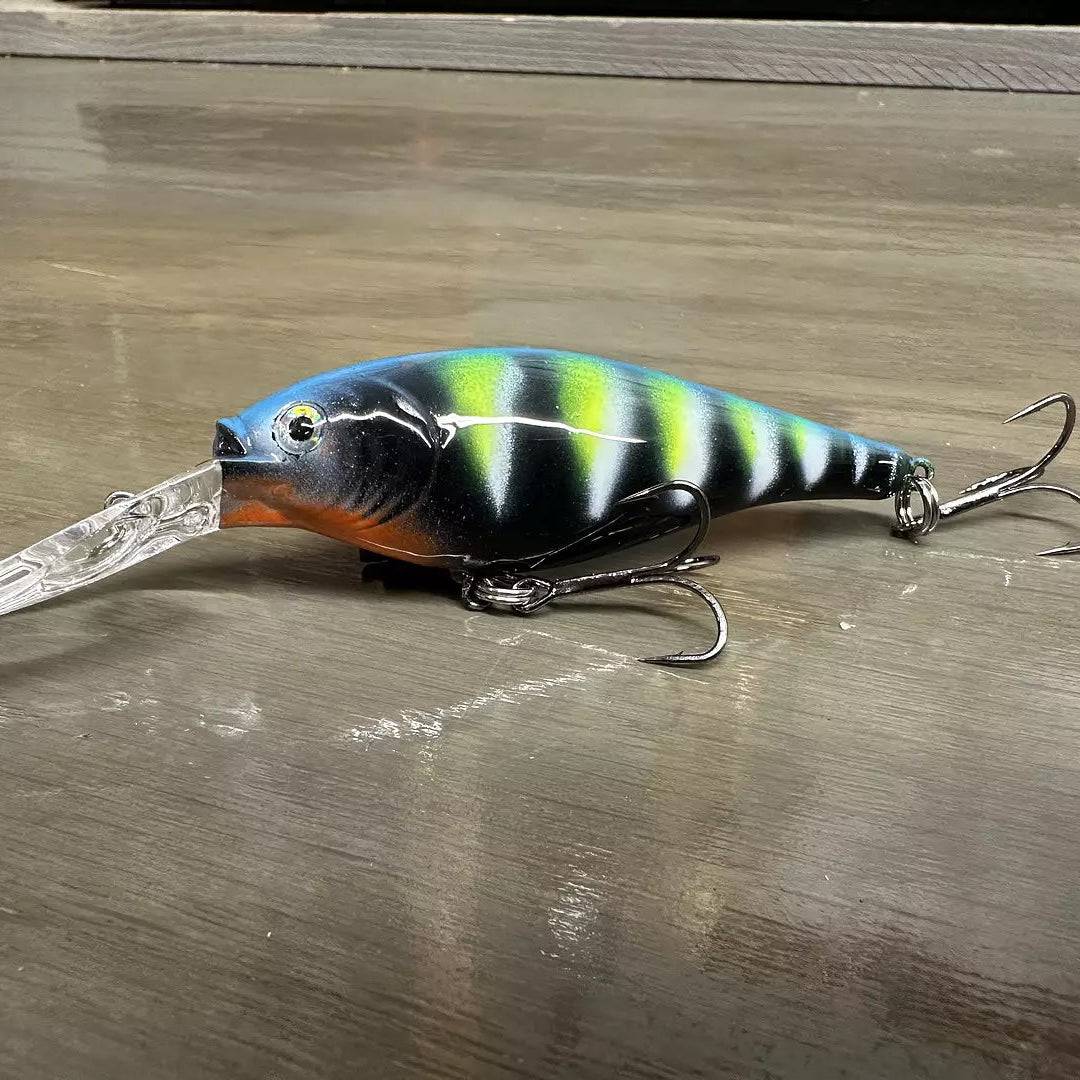
🌟 UV resin solidifies under ultraviolet light and is ideal for precise crafts such as fishing lures. On the flip side, epoxy resin hardens with a hardener and offers versatility, making it perfect for crafting larger, rugged items like coasters and trays.
Why isn't my UV resin curing correctly ?
🍯 There could be several reasons: using unsuitable molds (like large, deep, or opaque ones), wrong pigments (some pigments aren't compatible with UV resin), insufficient UV light exposure, or overloading with pigment or glitter, hindering the light penetration.
How do I prevent surfaces from becoming tacky or sticky?
🤯 Incomplete curing often occurs due to improper handling. Make sure to adhere to the recommended guidelines for mixing and measuring, and utilize a suitable UV light source. Additionally, if the surface remains sticky, consider applying and curing a thin clear layer of UV resin for a solid finish.
What leads to bubbles and how can they be prevented?
🫧 Bubbles may arise from overly vigorous stirring or excessively thick resin. Stir the resin gently and allow it to settle before curing to enable bubbles to ascend. Additionally, employing a heat gun can effectively eliminate surface bubbles.
How do i fix warping in my uv resin projects?
🩹 Warping can occur from uneven curing, excessive shrinkage, improper mold handling, insufficient UV light exposure, or low-grade resin. Ensure uniform UV light exposure, steer clear of excessive heat, and opt for top-notch resin. Experiment with relocating the light farther from the resin to moderate curing and diminish heat
Do I need to cure both sides of my resin project?
🛡 Yes, particularly for larger projects. This assures a truly complete cure in every part of the piece, and minimizes the possibility of a piece having a sticky or uncured core.
🌈 Adding Color to Alumi-UV
UV resins open a world of creative possibilities with their fast curing and ease of use. If you want to add a splash of color, here's what you need to know:
🎨 Compatible Colorants
Mica Powder: Adds a beautiful shimmer and pearlescent effect.
Alcohol Inks: Create vibrant, translucent colors with swirls and marbled effects.
Glitter: Offers sparkle and dimension.
Liquid Pigments: Specifically designed for resin, these offer concentrated color.
🔮 Tips for Success
Less is More: Start with tiny amounts of colorant. Overdoing it can block the UV light, leading to improper curing and a soft or sticky result.
Clear Molds: Let the colors shine! Clear molds ensure maximum light penetration for a complete cure.
Thorough Mixing: Use a separate cup to mix your resin and colorant before pouring into your mold. This ensures even color distribution.
Mica Dusting: For a clear interior with a colorful shimmer, lightly dust your mold with mica powder before adding the resin.
Curing Both Sides: Always cure both sides of your project for optimal results.
Tacky Surfaces: If you encounter stickiness, a thin top coat of resin and additional curing time should solve the problem.
Layering: Create depth and dimension by layering different colors of resin. Cure each layer partially before adding the next.
Test Swatches: Always test your color combinations in small batches before committing to your main project.
⚠ Important Notes:
Some pigments may not be compatible with UV resin. Always test with a small sample before coloring a large batch.
The intensity of the color depends on the amount of colorant and the thickness of your project.
Give us a call (269-488-4000) and our team of experts will assist you.
Find us in store at your favorite local retailers! Be sure to check with your local store for product and stock options. Now available at:

Accelerate your crafting experience with our Alumi-UV Resin! Say goodbye to waiting for resin to cure and hello to lightning-fast creativity.
With our new and improved Alumi-UV formula, your artistic visions come to life in minutes under UV or natural sunlight, leaving you with a glossy finish that's sure to impress.
Watch Zach Baker put Amazing UV Resin to the test! With just a quick flash of UV light, he showcases how fast and easy it is to achieve a crystal-clear, rock-solid cure in seconds. Whether you're sealing, coating, or creating, this resin is perfect for makers who want instant results without the wait.
Ready to speed up your projects? Watch Zach in action and see the magic of Amazing UV Resin for yourself!
Overall rating: 4.0487804 / 5 from 82 reviews.
Experience lightning-fast curing with Alumi-UV Light Cured Resin, designed for fishing lures and ring making. Customers appreciate the top-notch UV resin and effortless customization, though some had issues with the new formula's curing and durability.
Review topics: [results, finish, surface, problems, works, resin, coat, bottles, bubbles, cure, containers, viscosity, epoxy].
"So far so good. I have only done a couple lures so far. Drying time takes longer than expected even under UV lamps. Time will tell as I do more projects with it."
"I love how simple it is to use this resin, uv cured in minutes. I was using kbs diamond clearcoat before this and i hated waiting a couple of days for the clearcoat to cure. 5/5 alumi-uv simple to use and will buy again."
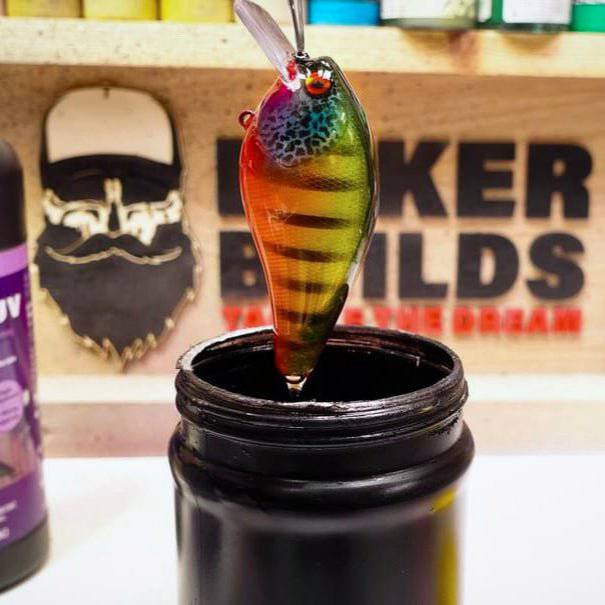
"I’m restoring some crank baits that have caught many bass, but beat up from years of fishing. The Alumi-UV worked flawlessly. My brother had used a UV activated before so he advised that the curing time and process makes a difference in final hardness. I ended up cooking these with my uv light over night. Finish is smooth and flawless. I think it will be a sufficient hardness, while being resilient as well. I left my very beat up lure unrestored as far as paint. The clear coat should protect it from further restoration. My only recommendation would be maybe use a bottle with a wider opening. So far the lures I’m refinishing have fit through the mouth. If I had to use a different container I fear id be wasting stuff in that container. Perhaps I’ll try brushing for bigger lures. Thx, great product so far."
"I do fishing lures and always have used dip and hang method, but I thought I would try and save time. I bought a curing box with lights , brushed on , and it’s been a learning experience process. It seems tacky and I have tried alcohol wipe method. I have tried a different set of lights still same results. Not sure what is happening , but ordered another set of lights and going to see if it just needs more lights."
"Trying different methods of using this product on air brushed fishing lures. . . . . . frome brush application to dip methods. The product works well but a quality uv light is a must to cure."
"I do maybe a dozen lures at a time. The original version of this product worked great. Nice clear coat and no bubbles. I purchased this new version and now it orange peel dries. Ruined half my work and I have no idea if will smooth out with a second coat. Not buying this no more. Amazon has one that is much better."
"Firs time user, 4 oz bottle only half full. The lures that I have used it on, have taken 15 to 20 minutes to cure. I am know looking for another brand,"
"Works very well, BUT I purchase the bigger bottle just to find out it was half way full. Definitely makes me feel some type of way. There is a china version that is just as good, that comes full to the rim and is a fraction of the price and that’s what I will be purchasing next time."
"I have used 3 different types of uv lights with different watts and it still takes longer than a lot described."
"This resin cures very fast and once cure is very hard and durable. Brushing it on proved to be a little difficult and I was left with some spots that were thin when dry. I found it was best to dip the lure in the bottle, let it drip dry and then cure it. Over all Alumi-UV is a really good product"
Your cart is currently empty.
Start Shopping


