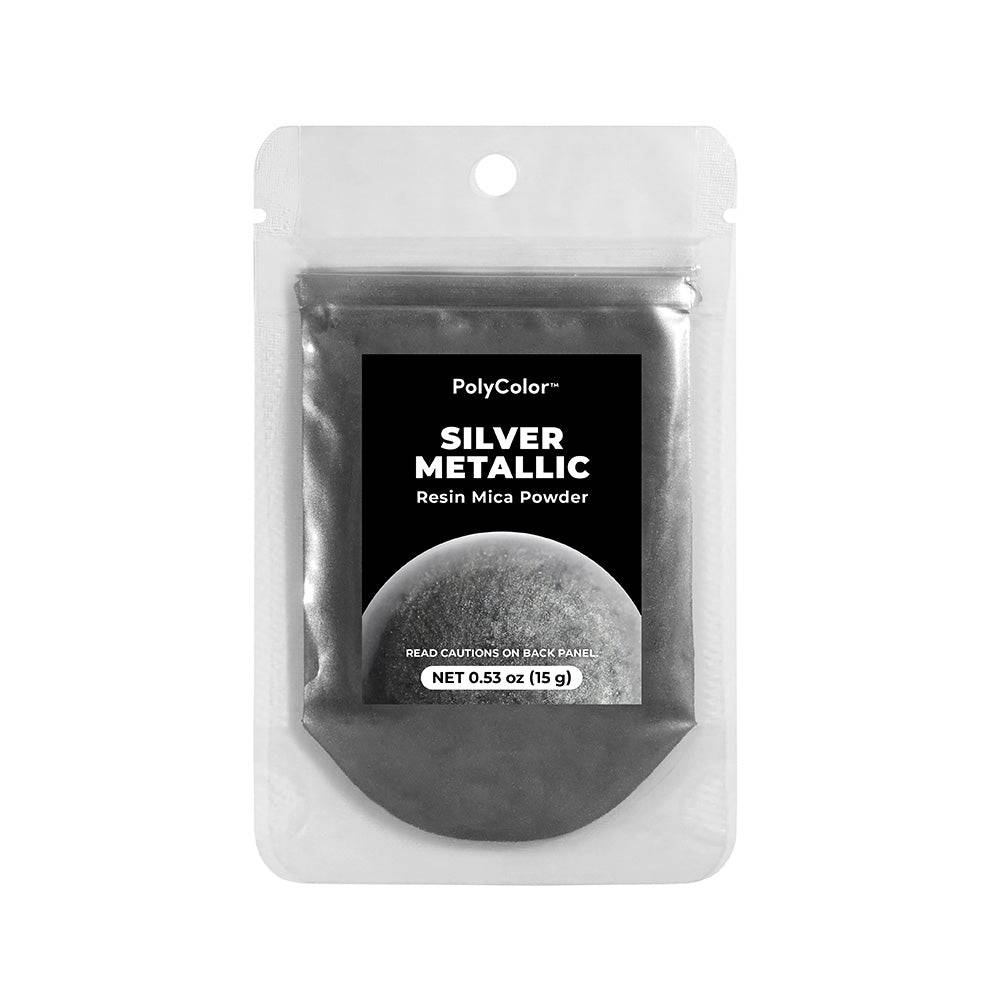
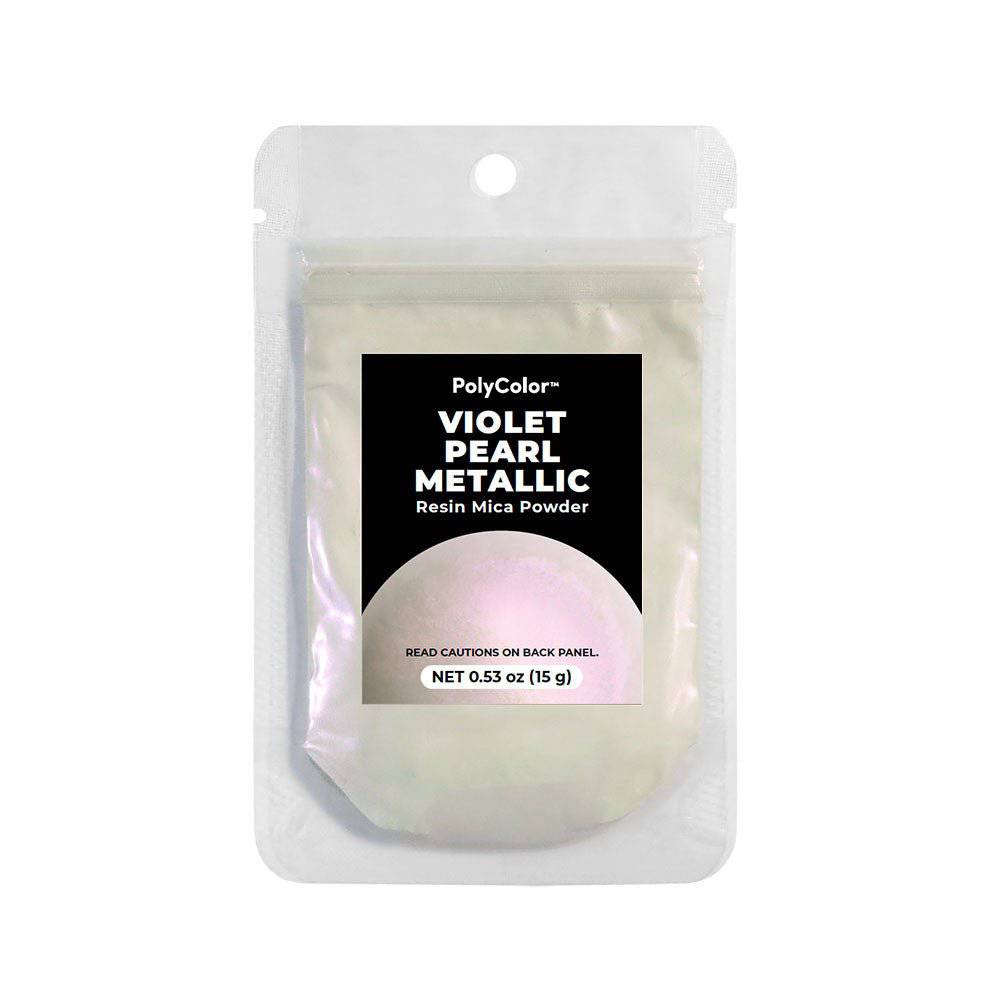
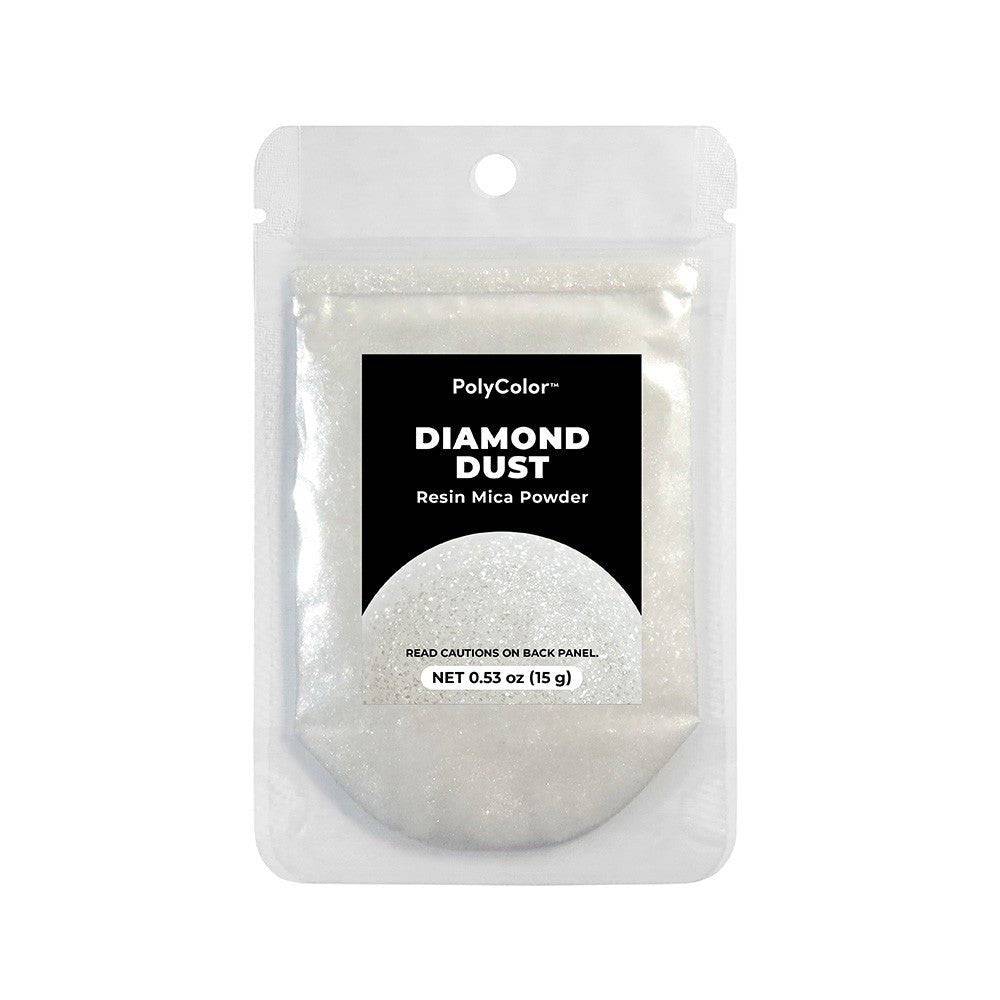
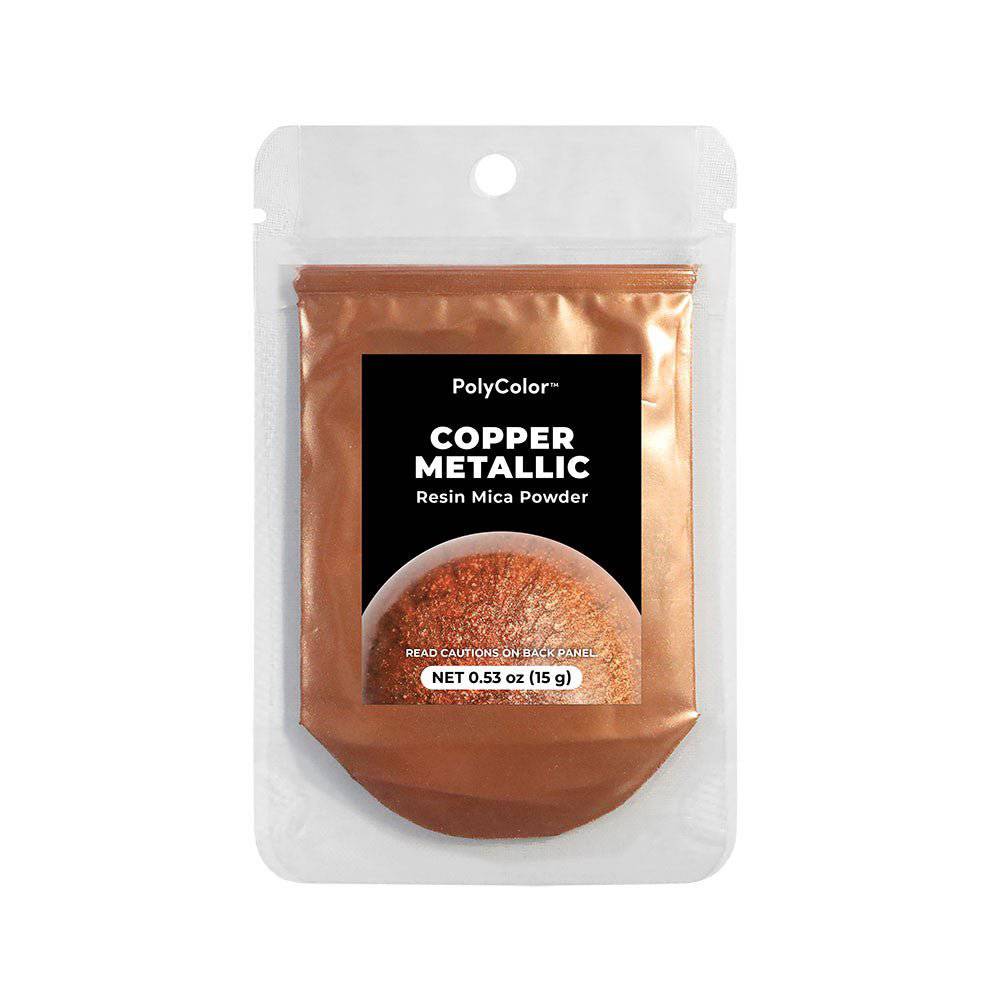
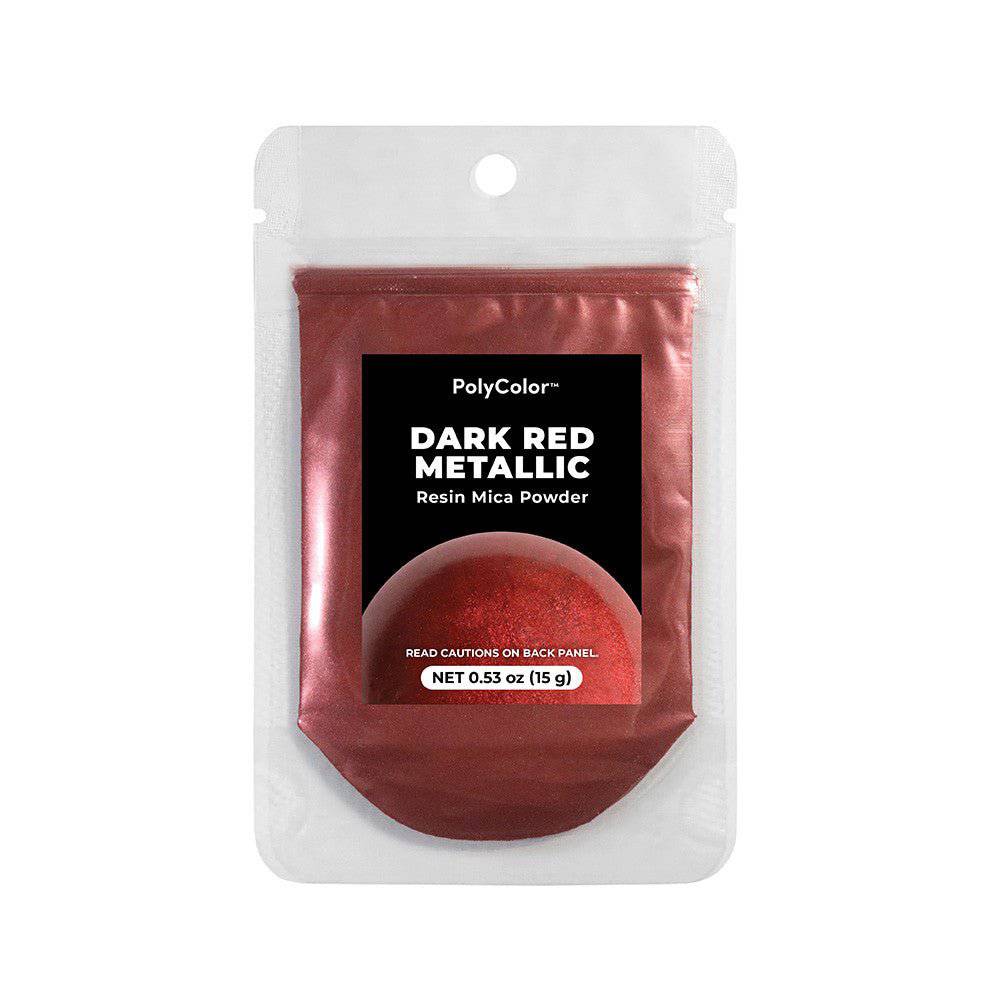
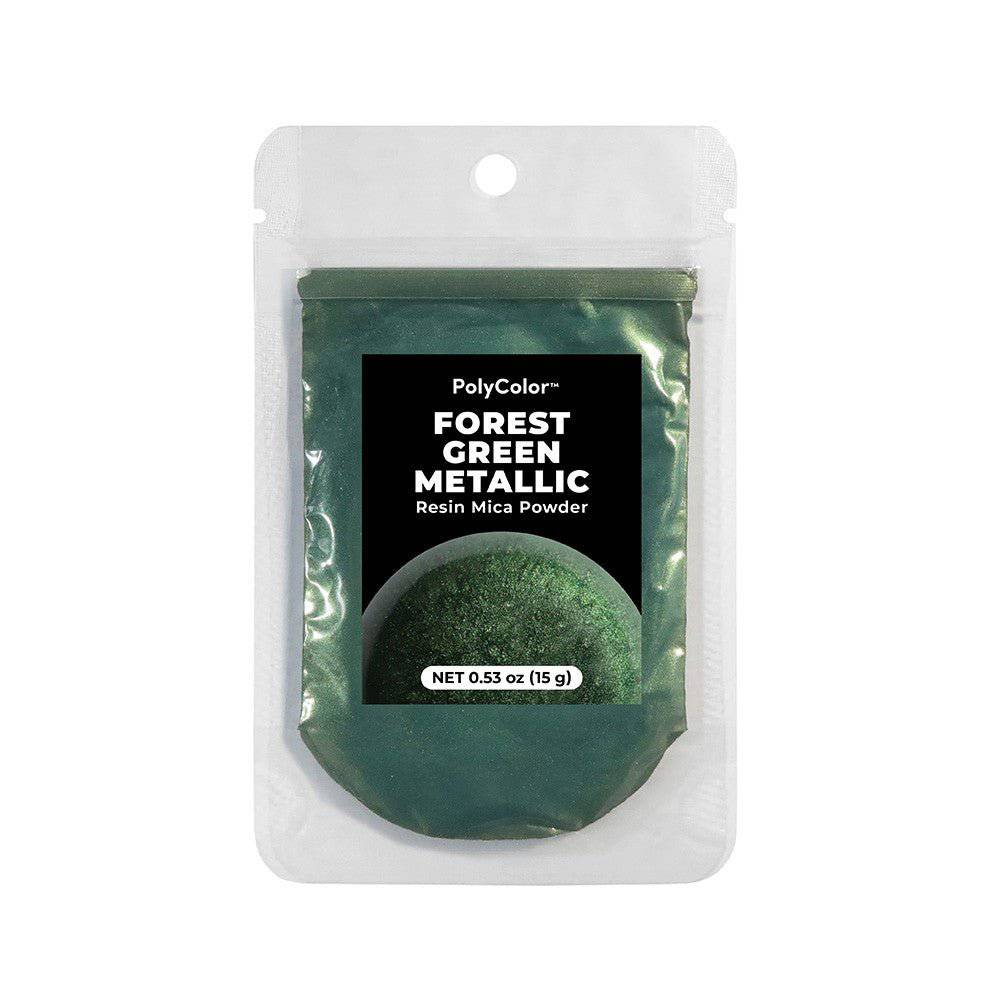
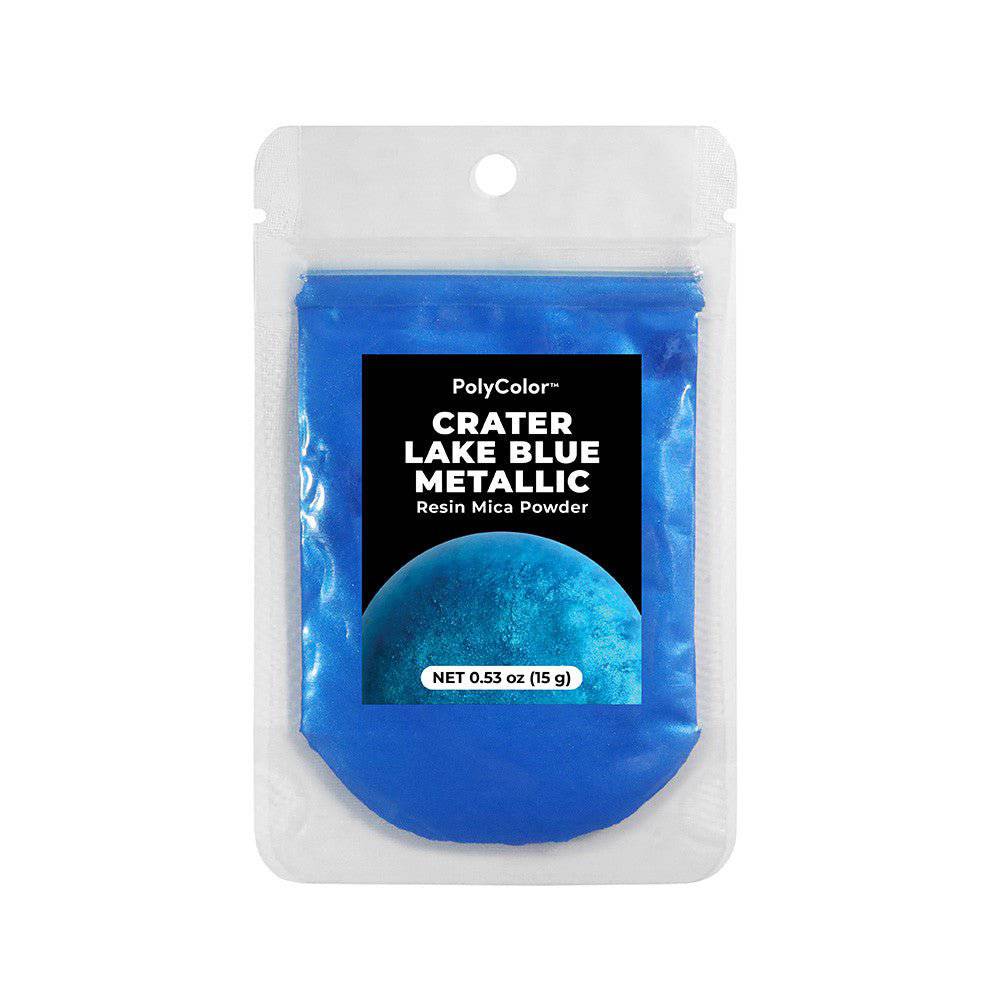
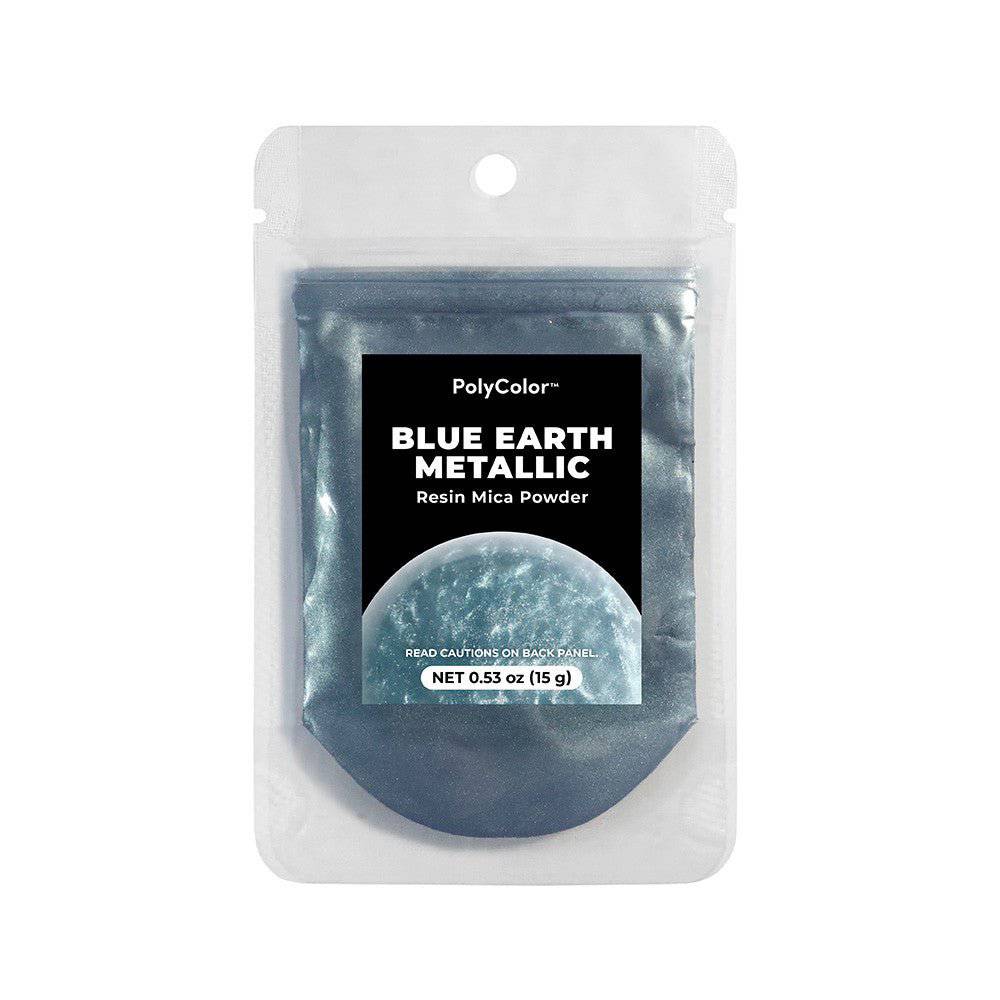
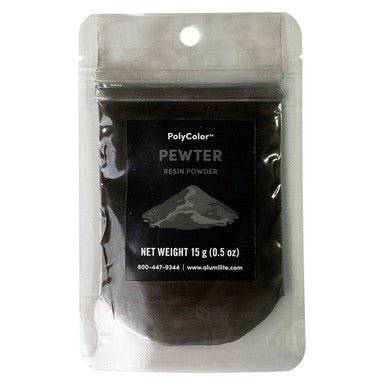
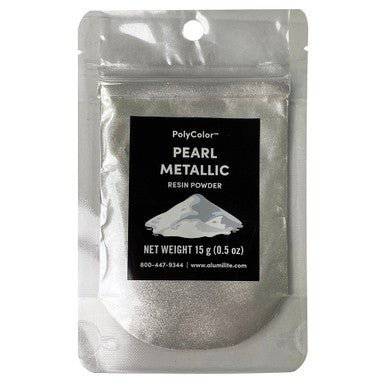
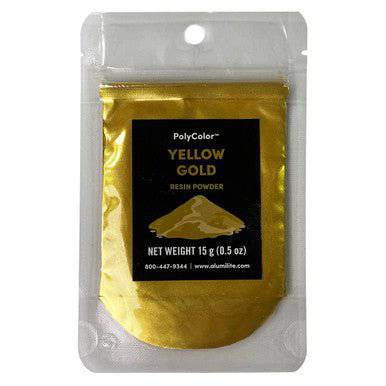
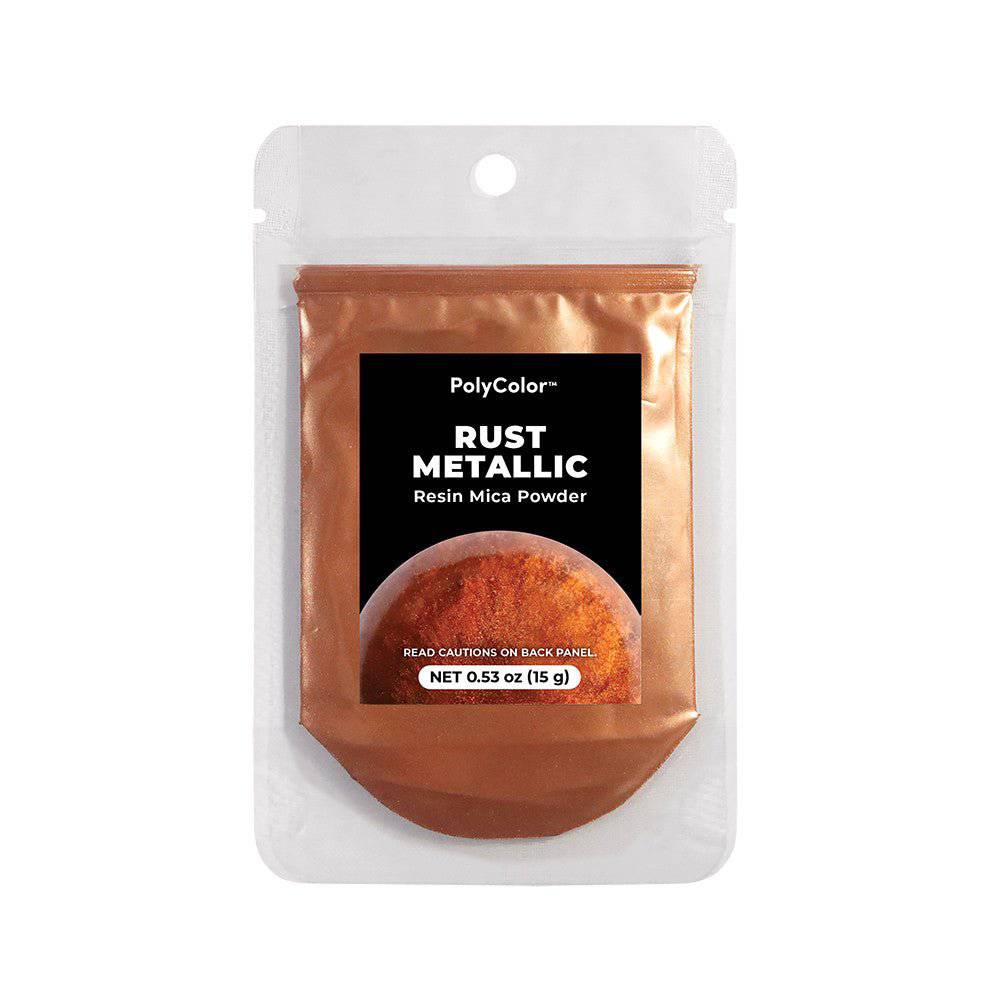
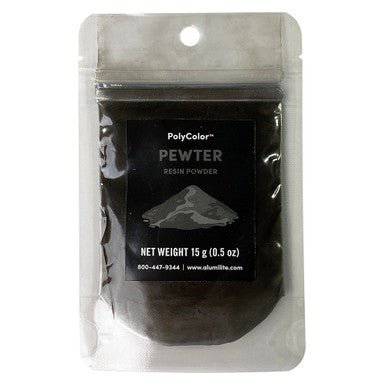
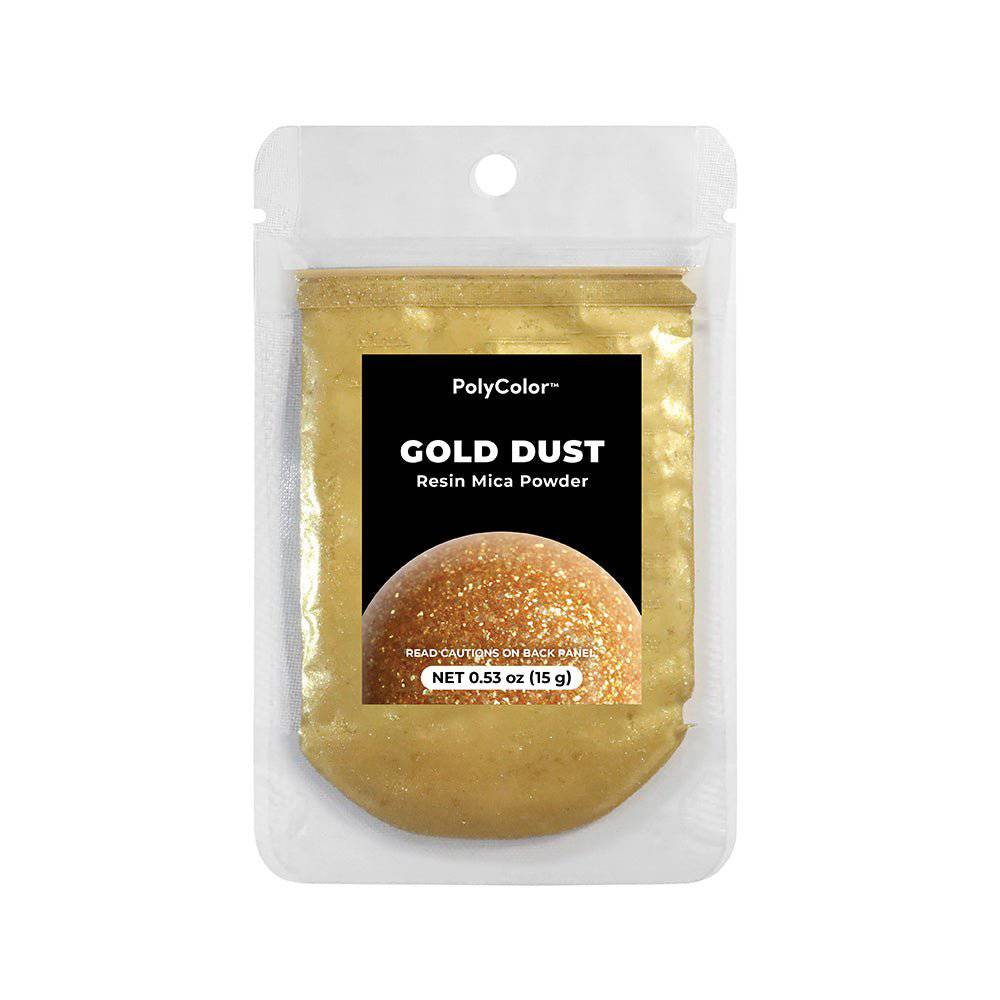
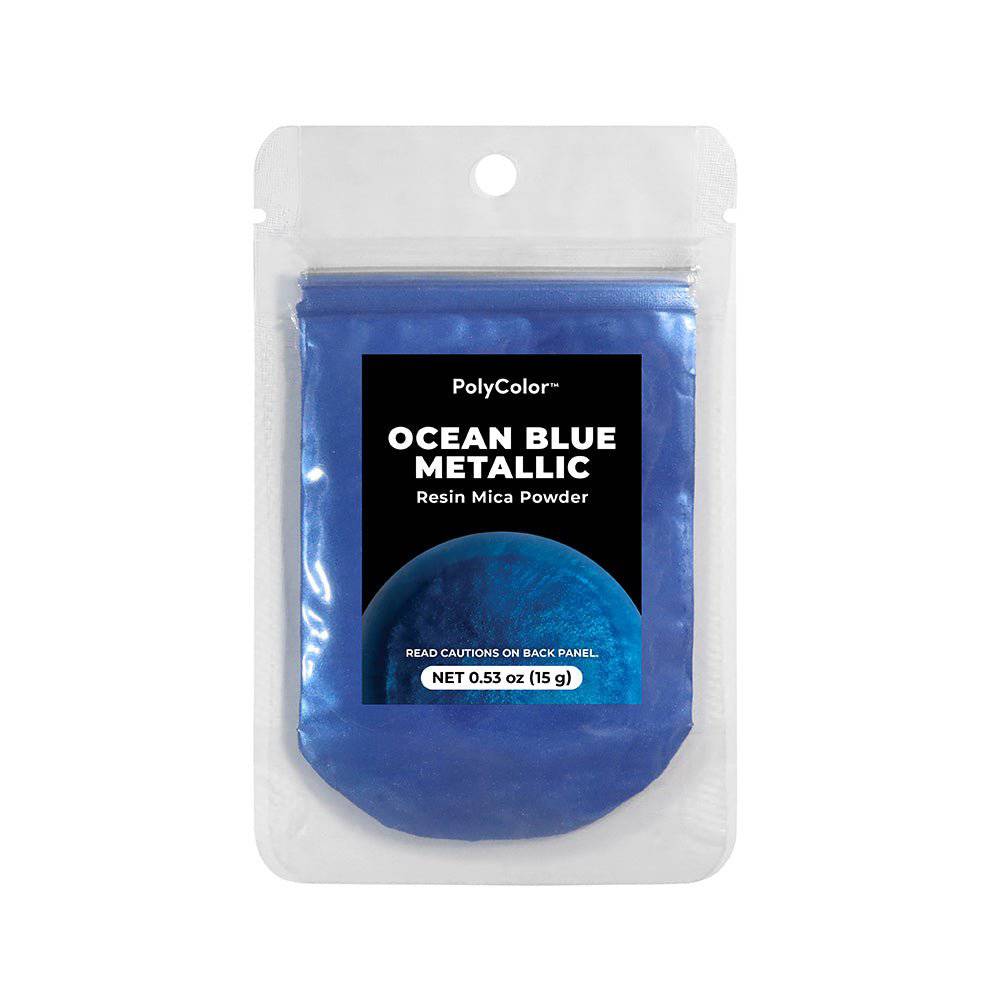
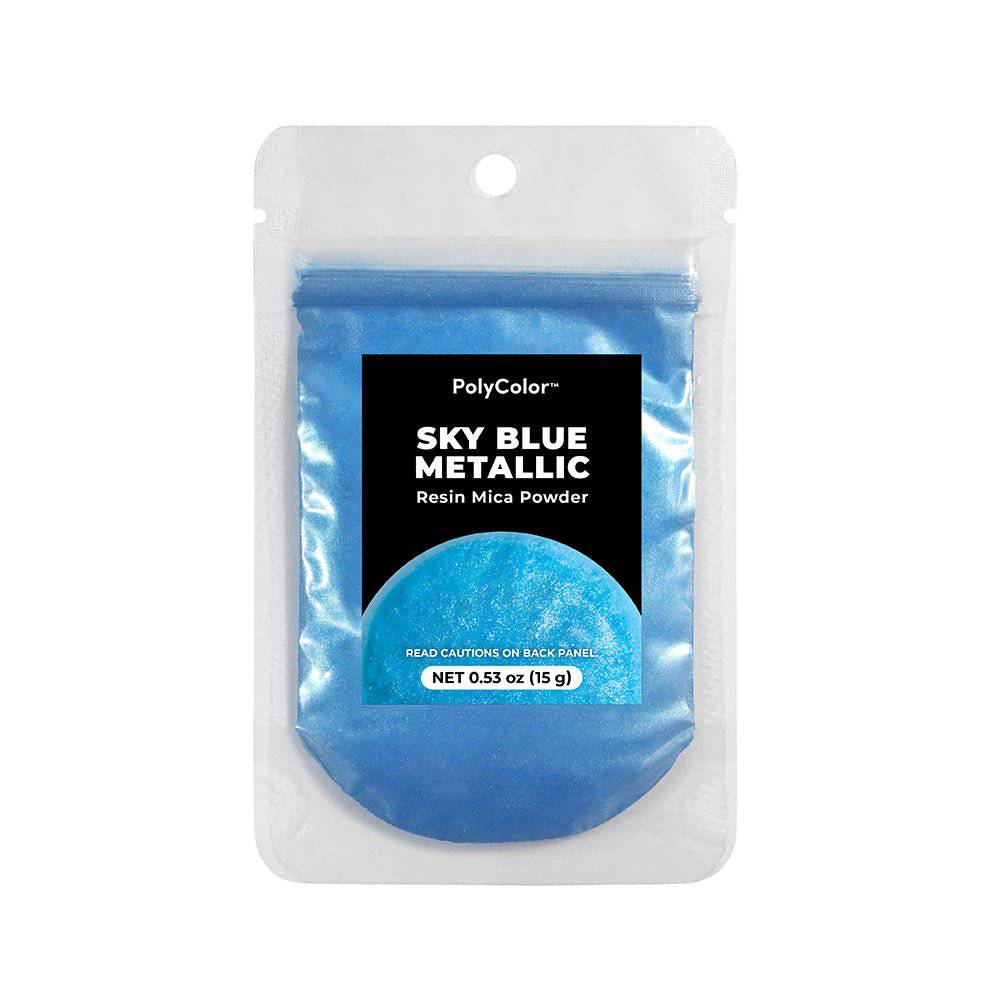
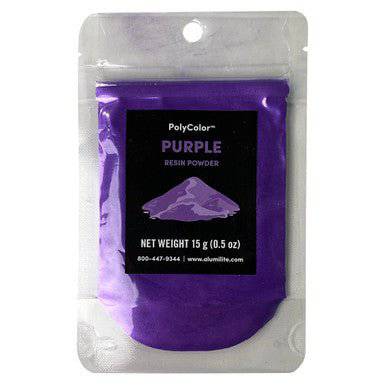
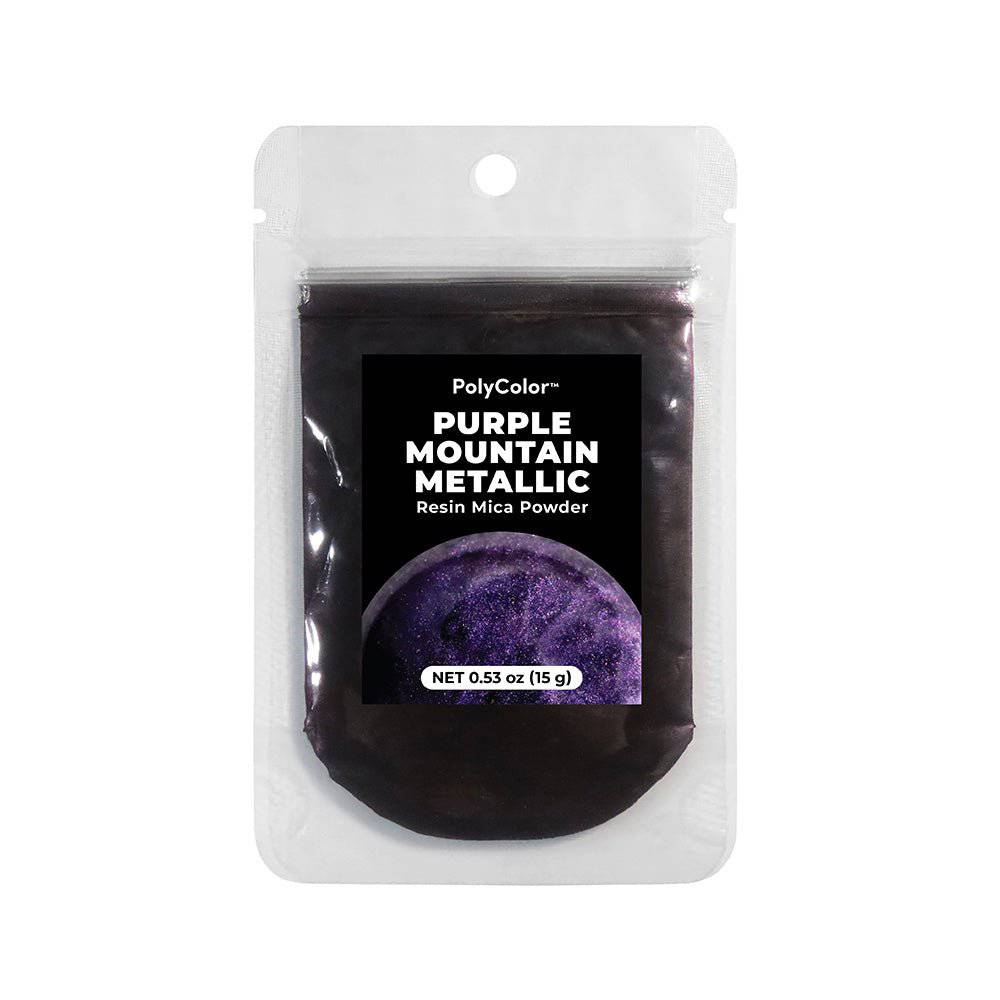
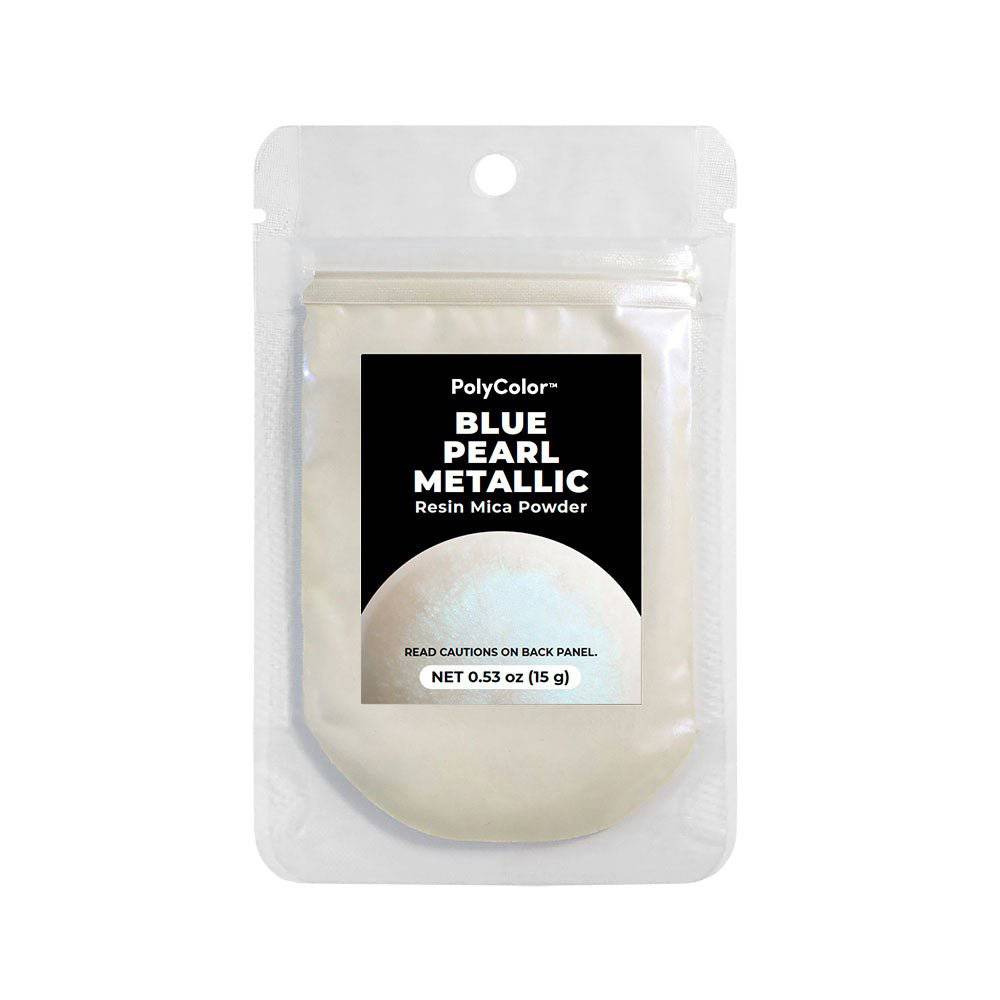
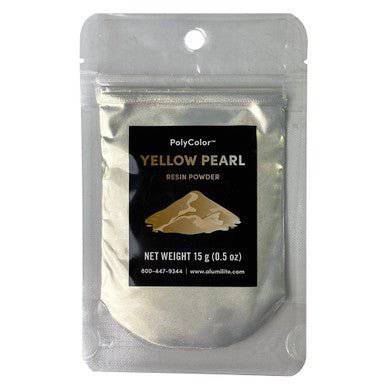
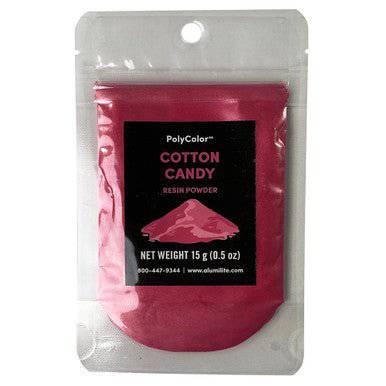
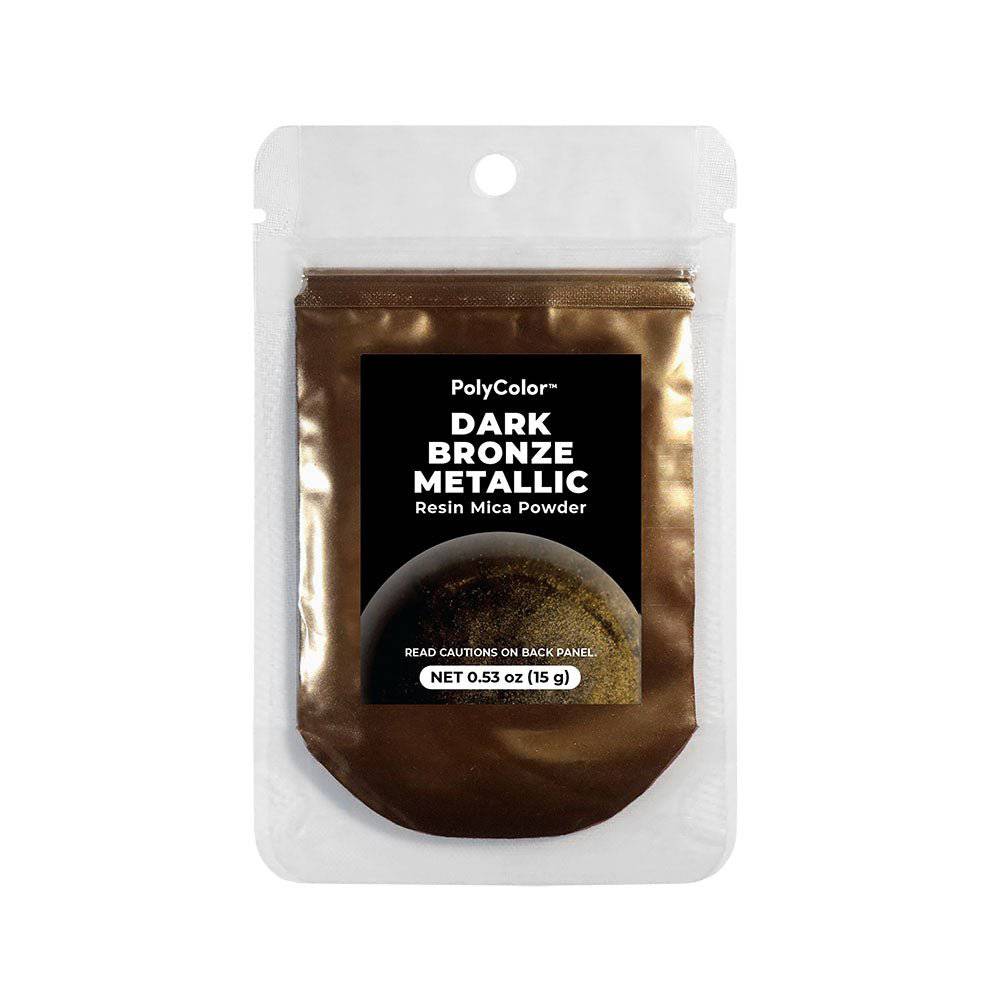
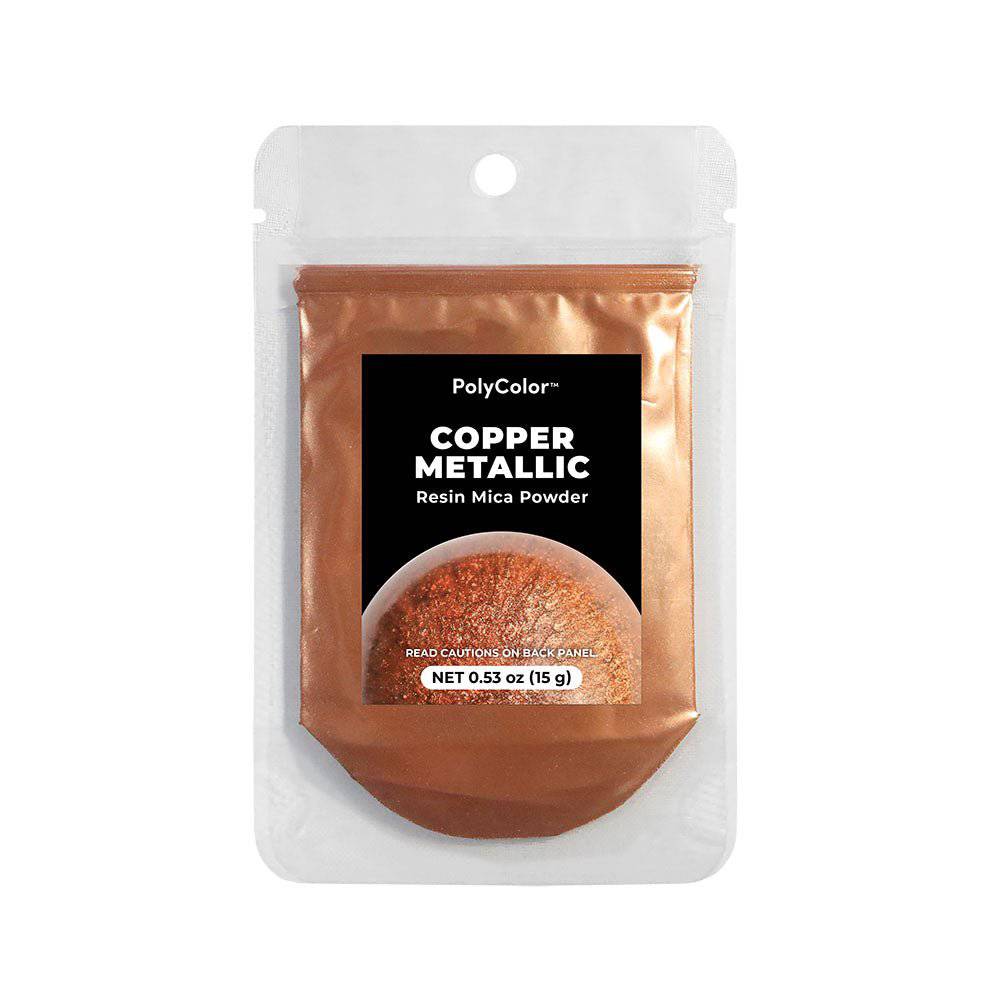
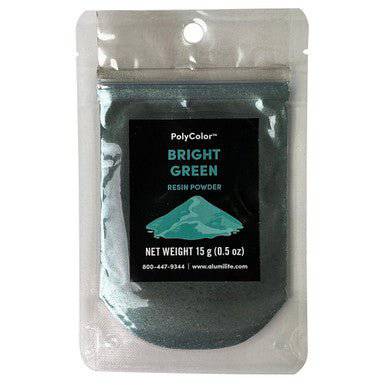
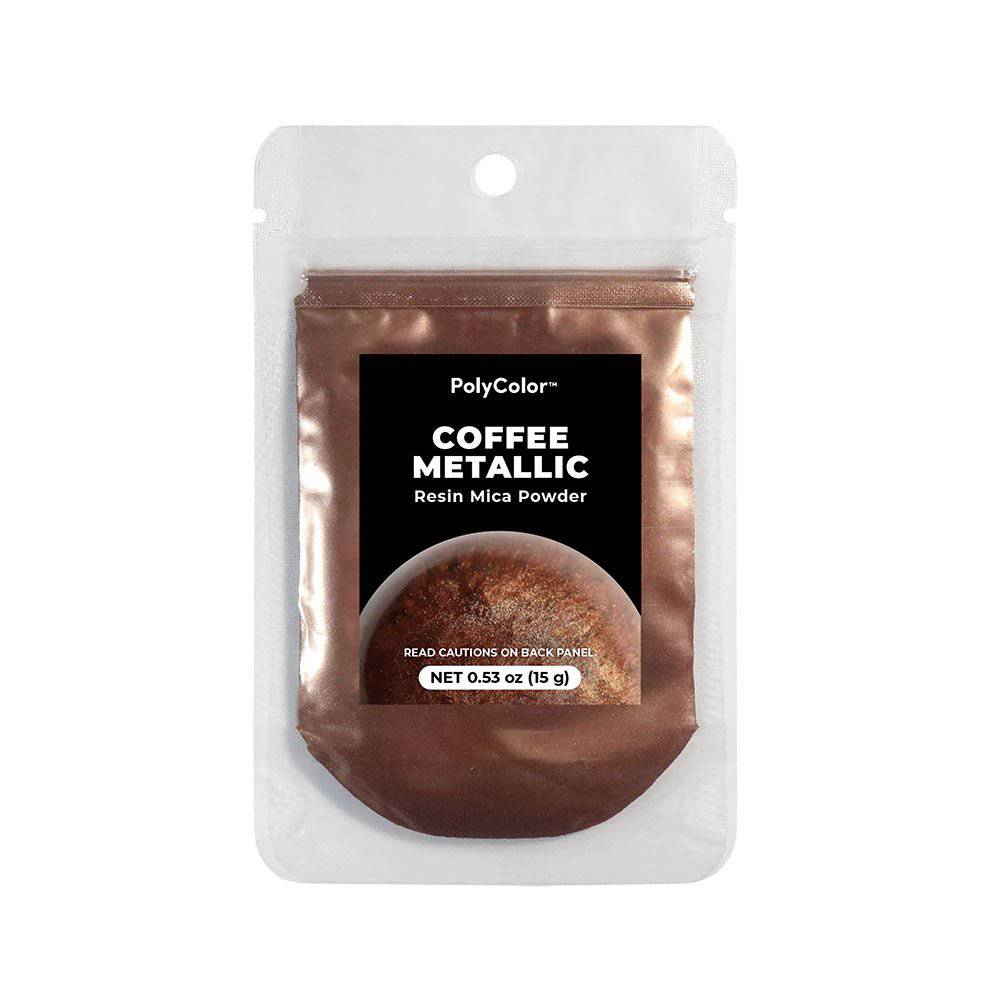
PolyColor Resin Powder 15g

$10.99
Shipping calculated at checkout.
5.0
Color: Silver

PolyColor Resin Powders produce vibrant pearlescent-effects when added to clear resins such as Alumilite Clear, Amazing Clear Cast, and Amazing Deep Pour. These powders are very fine and make a significant impact in small amounts.

Begin with small amounts and add more gradually to brighten/deepen the color until desired look is achieved. Maintain a translucent appearance by only adding small amounts. Powders can be blended for custom colors. PolyColor Resin Powders can also be used in conjunction with Alumilite Dyes. 

Application possibilities include river tables, blanks for wood turning, jewelry making, coasters, serving trays, counter and bar tops, fishing lures, ornaments, frames, game pieces, tumblers, inlays, cracks in wood, and more.

Packaged in 15g resealable bags.

Product labels may vary from images shown. 

Features

✅ Pour, Solidify, and Reveal

✅ Ready for Any Project Challenge

✅ Achieve a Bold High-Gloss Look

🚫 Skip the Fuss of Measurements or Mixing

🚫 No Need for Endless Waiting.

FAQ

What sets UV resin from epoxy resin?

🌟 UV resin solidifies under ultraviolet light and is ideal for precise crafts such as fishing lures. On the flip side, epoxy resin hardens with a hardener and offers versatility, making it perfect for crafting larger, rugged items like coasters and trays.

🍯 Why isn't my UV resin curing correctly ?

There could be several reasons: using unsuitable molds (like large, deep, or opaque ones), wrong pigments (some pigments aren't compatible with UV resin), insufficient UV light exposure, or overloading with pigment or glitter, hindering the light penetration.

🤯 How do I prevent surfaces from becoming tacky or sticky?

Incomplete curing often occurs due to improper handling. Make sure to adhere to the recommended guidelines for mixing and measuring, and utilize a suitable UV light source. Additionally, if the surface remains sticky, consider applying and curing a thin clear layer of UV resin for a solid finish.

🫧 What leads to bubbles and how can they be prevented?

Bubbles may arise from overly vigorous stirring or excessively thick resin. Stir the resin gently and allow it to settle before curing to enable bubbles to ascend. Additionally, employing a heat gun can effectively eliminate surface bubbles.

🩹 How do i fix warping in my uv resin projects?

Warping can occur from uneven curing, excessive shrinkage, improper mold handling, insufficient UV light exposure, or low-grade resin. Ensure uniform UV light exposure, steer clear of excessive heat, and opt for top-notch resin. Experiment with relocating the light farther from the resin to moderate curing and diminish heat.

🛡 Do I need to cure both sides of my resin project?

Yes, particularly for larger projects. This assures a truly complete cure in every part of the piece, and minimizes the possibility of a piece having a sticky or uncured core.

🌈 Adding Color to Alumi-UV 

UV resins open a world of creative possibilities with their fast curing and ease of use. If you want to add a splash of color, here's what you need to know:

🎨 Compatible Colorants

Mica Powder: Adds a beautiful shimmer and pearlescent effect.

Alcohol Inks: Create vibrant, translucent colors with swirls and marbled effects.

Glitter: Offers sparkle and dimension.

Liquid Pigments: Specifically designed for resin, these offer concentrated color.

🔮 Tips for Success

Less is More: Start with tiny amounts of colorant. Overdoing it can block the UV light, leading to improper curing and a soft or sticky result.

Clear Molds: Let the colors shine! Clear molds ensure maximum light penetration for a complete cure.

Thorough Mixing: Use a separate cup to mix your resin and colorant before pouring into your mold. This ensures even color distribution.

Mica Dusting: For a clear interior with a colorful shimmer, lightly dust your mold with mica powder before adding the resin.

Curing Both Sides: Always cure both sides of your project for optimal results.

Tacky Surfaces: If you encounter stickiness, a thin top coat of resin and additional curing time should solve the problem.

Layering: Create depth and dimension by layering different colors of resin. Cure each layer partially before adding the next.

Test Swatches: Always test your color combinations in small batches before committing to your main project.

⚠ Important Notes:

Some pigments may not be compatible with UV resin. Always test with a small sample before coloring a large batch.

The intensity of the color depends on the amount of colorant and the thickness of your project.

Need Help Getting Started?

Give us a call (269-488-4000) and our team of experts will assist you.

Need It Today?

Find us in store at your favorite local retailers! Be sure to check with your local store for product and stock options. Now available at:

Hobby Lobby Dick Blick
Color: Silver

Customer Reviews

Based on 22 reviews
95%
(21)
5%
(1)
0%
(0)
0%
(0)
0%
(0)
L
Lynn
Stunning

The Gold Metallic Dust is so Beautiful. Easy to mix into Resin and gives such an Amazing Sparkle. I find myself reaching for this often.

T
Tee
Diamond Dust is a must!

The Diamond Dust gives such a Beautiful Sparkle to projects you want that pop of Bling to stand out. Mixes well with Resin. I have used this a ton with UV Resin when making Jewelry pieces.

H
Hannah
Forest Green

I love using the Forest Green to Resin especially if I am making something that is more with neutral colors.

H
Hannah
Wonderful added to Resin

I love using the black metallic especially if I have used pearl colors. This give such a beautiful even coat that makes the pieces pop.

T
Timothy W.
Mixes well

I love how easily it mixes into resin without leaving little clumps.